How to use
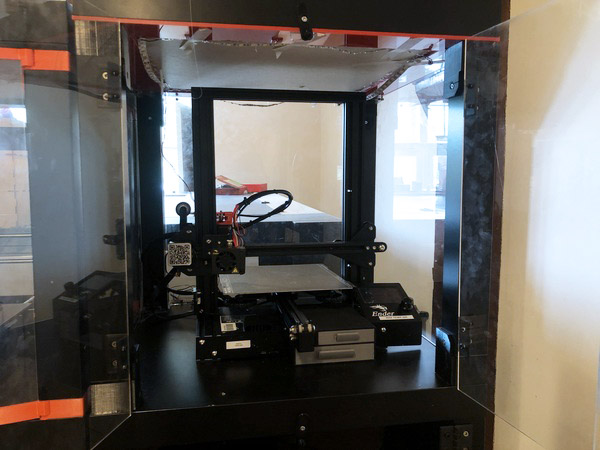
This documentation is for the upgraded Ender; however we have changed it into a biomaterial printer so the process is not accurate anymore. We have a second Ender in the lab that can be used as well, but it has not been upgraded.
The Ender we have in the lab has been upgraded, for a list of changes see the Modifications page.
How to use
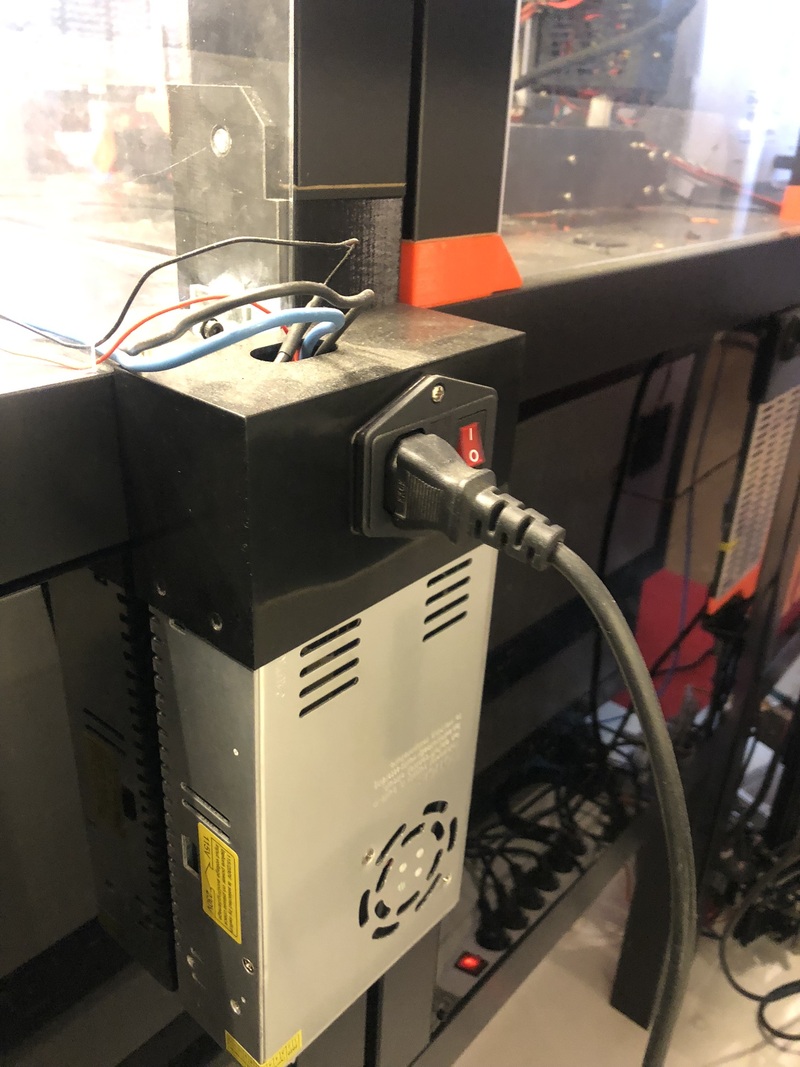
- Turn on the machine (power supply is on the back of the enclosure)
-
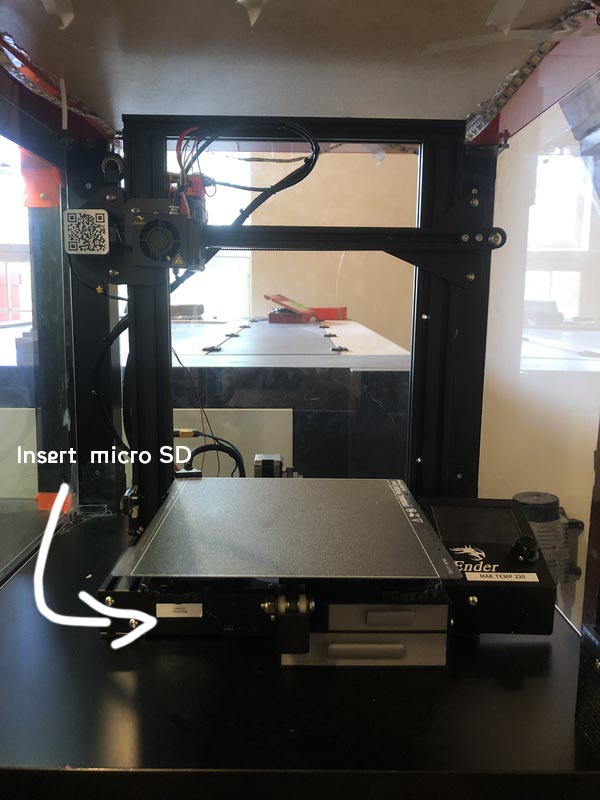
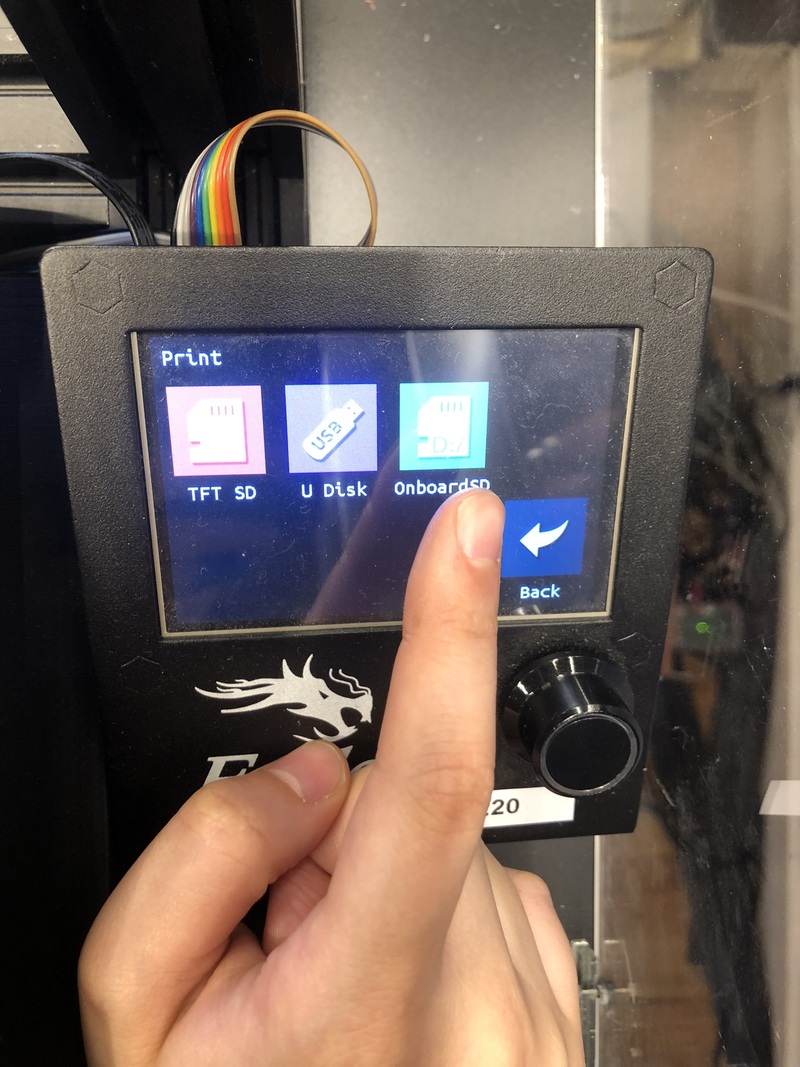
Insert micro SD with your file
-
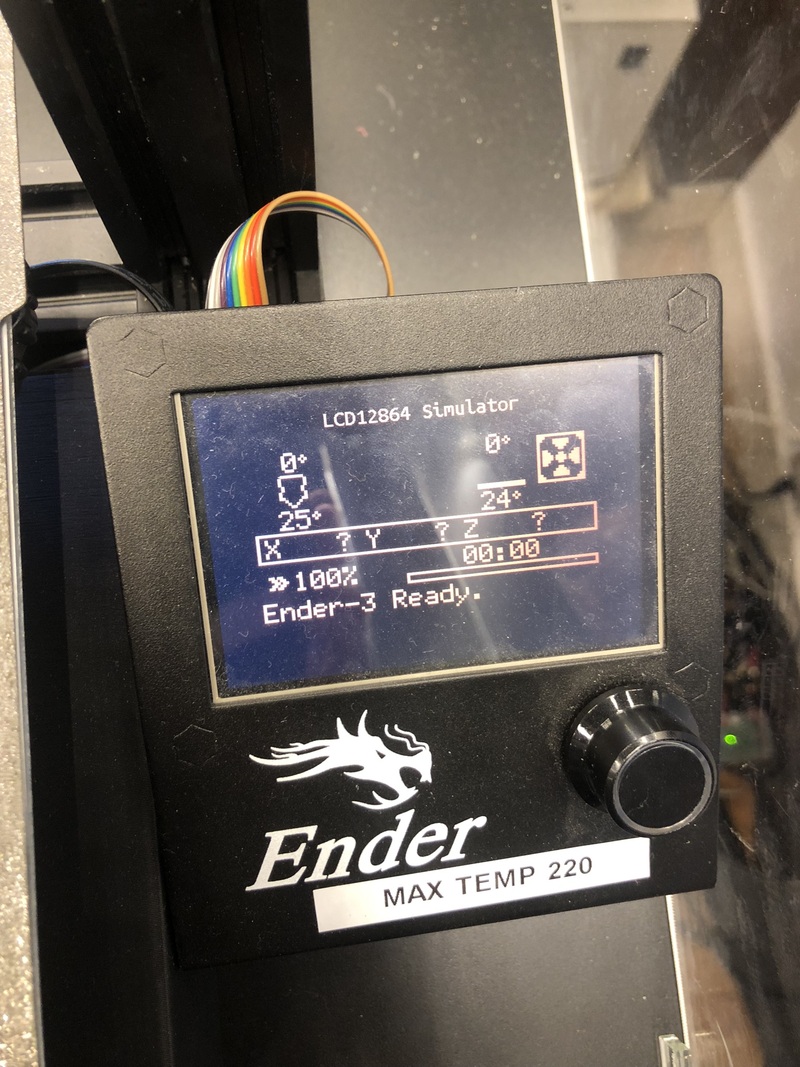
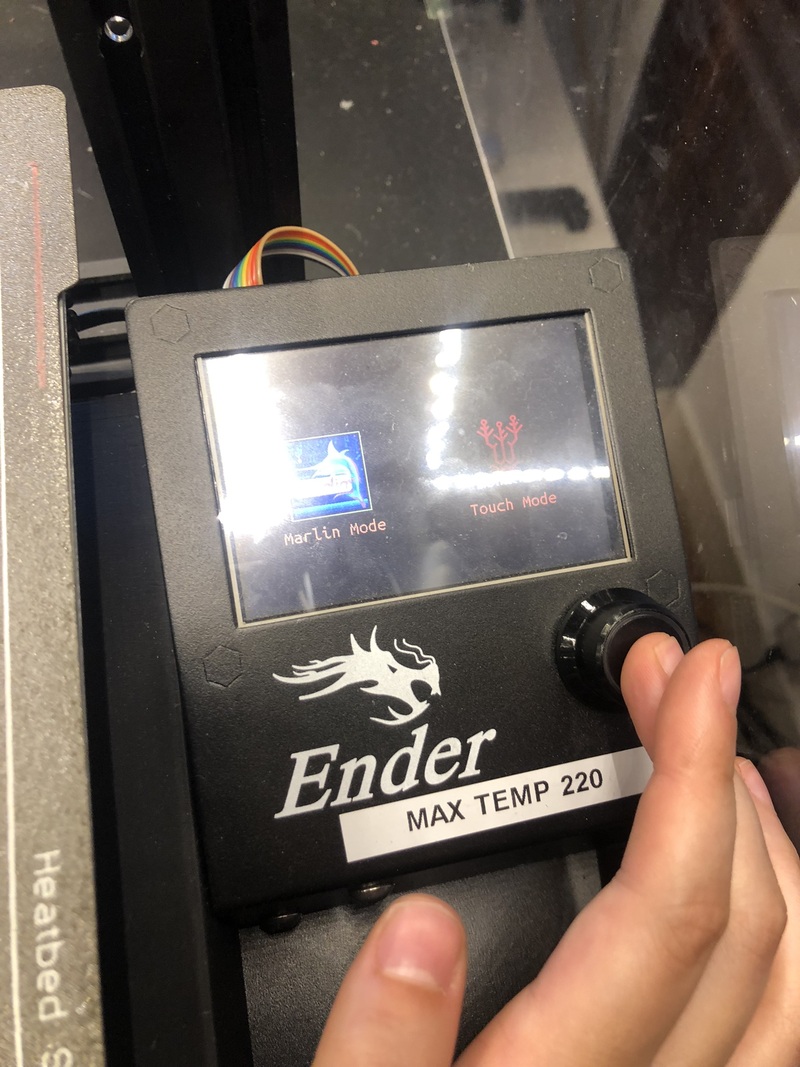
You can choose to operate the printer in Marlin mode or Touch mode. You can switch by clicking & holding the big knob under the screen. On the left Marlin mode, on the right Touch mode.
-
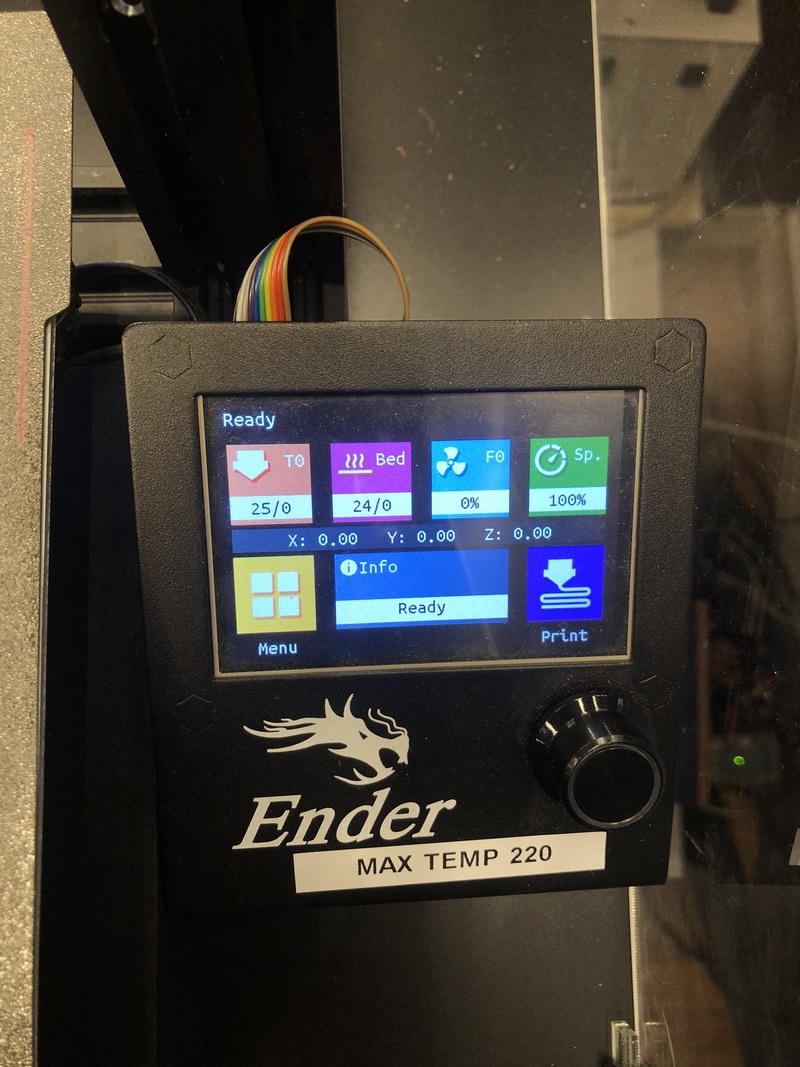
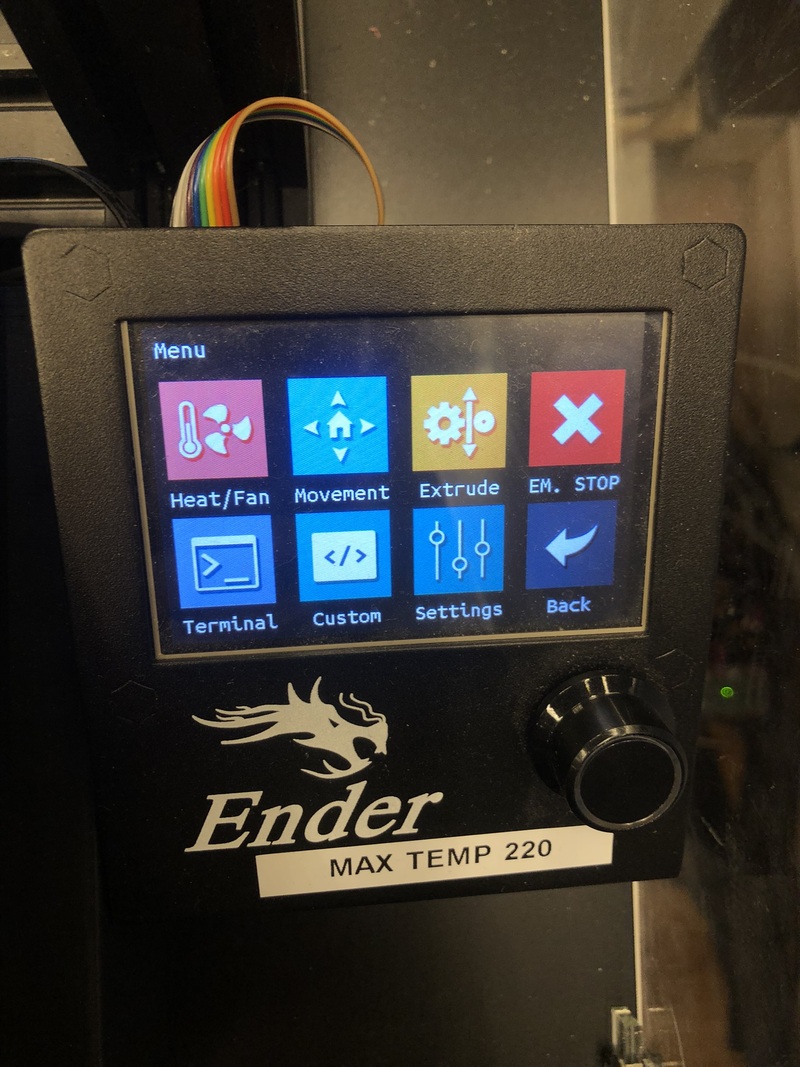
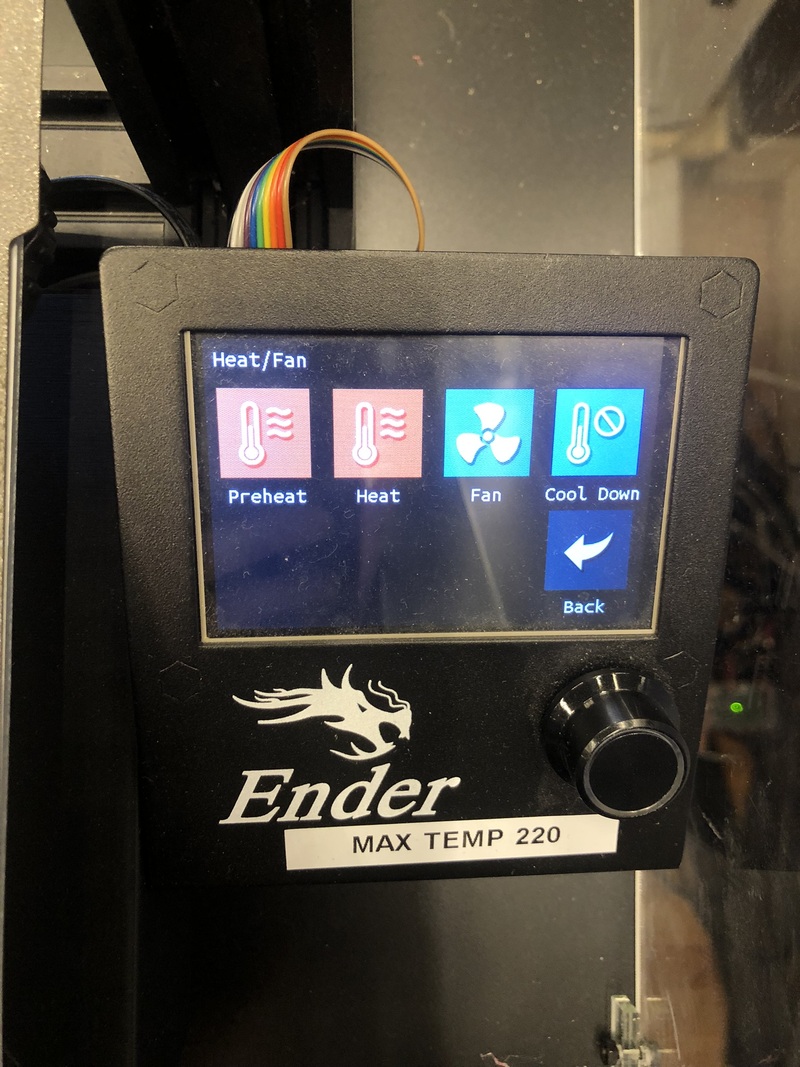
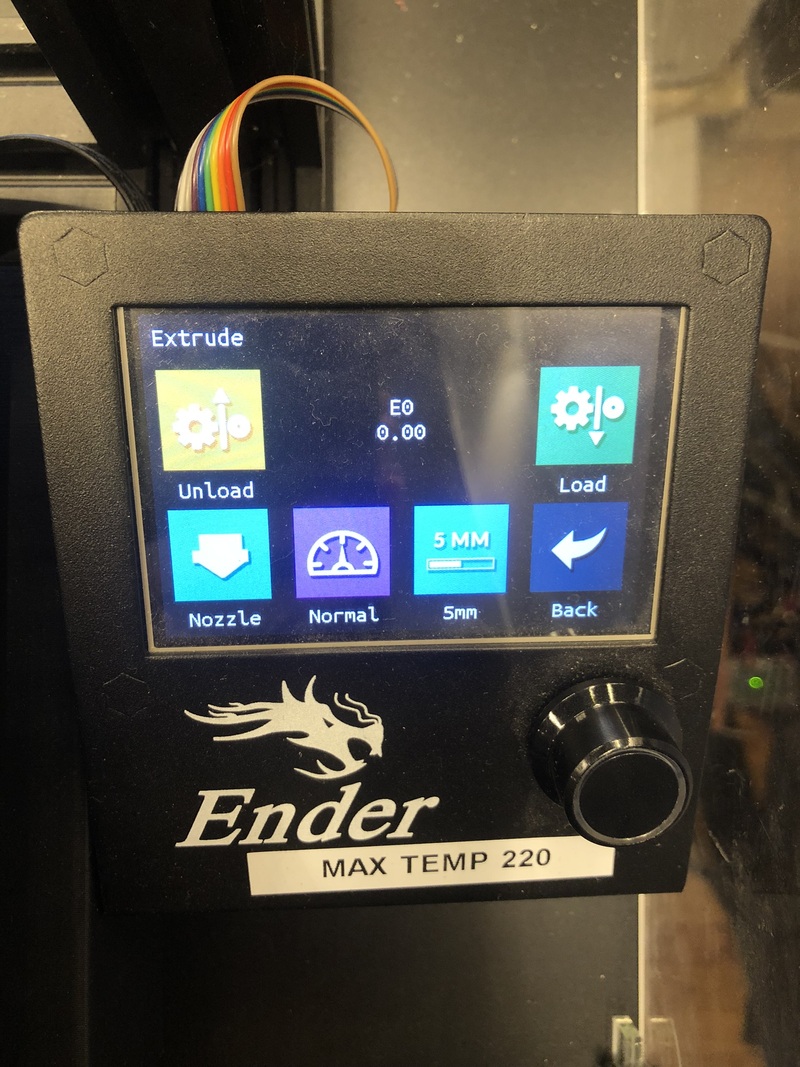
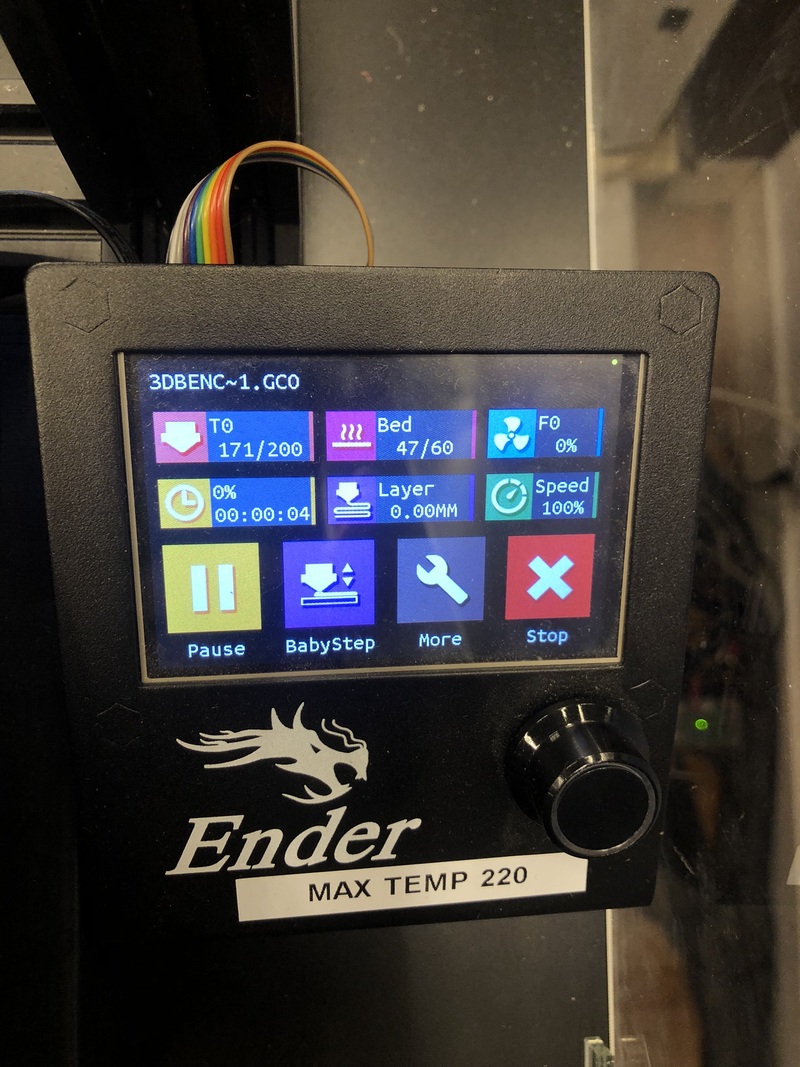
From the menu you can change temperature, set the fan speed, load filament (extrude) and move the machine in all directions. Start by preheating for the filament that you’re going to use.
-
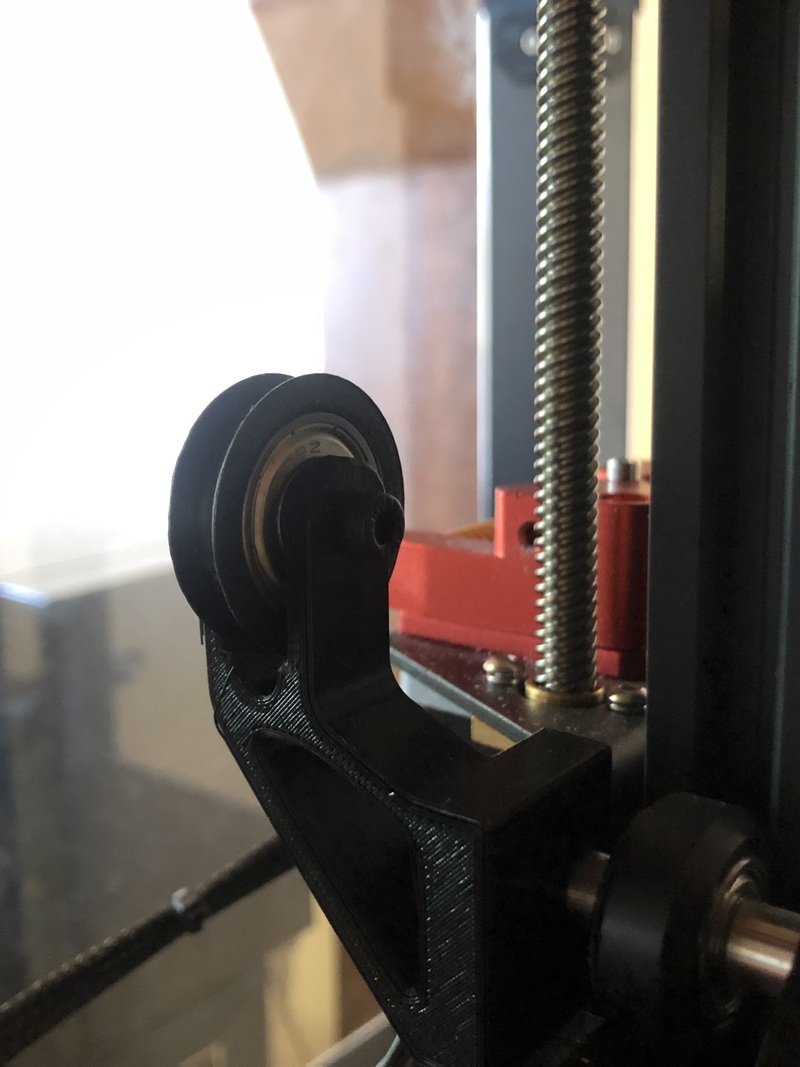
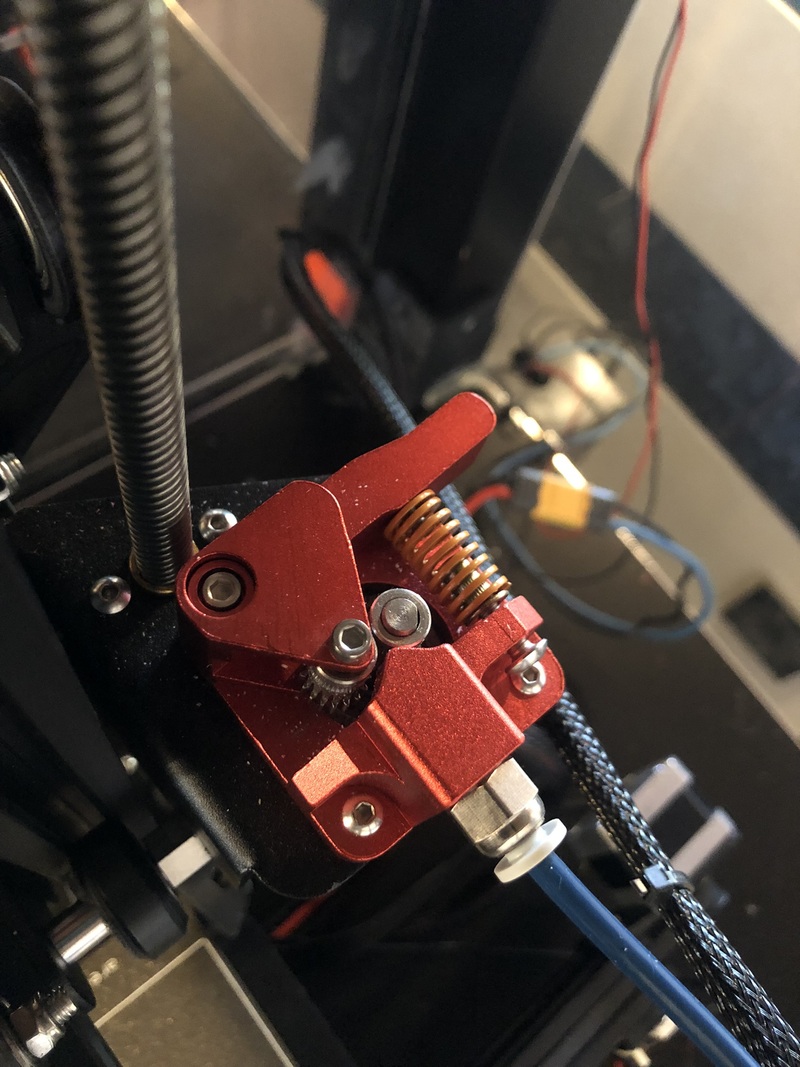
When at the correct nozzle temperature you can load your filament. It’s easiest to first load the material manually as far as possible, and then use the menu to load the final centimeters. Pull the red lever towards the bed so you can feed the filament into the tube. The wheel in front is for better alignment with the extruder. When filament starts oozing out of the nozzle, you can continue to the next step.
-
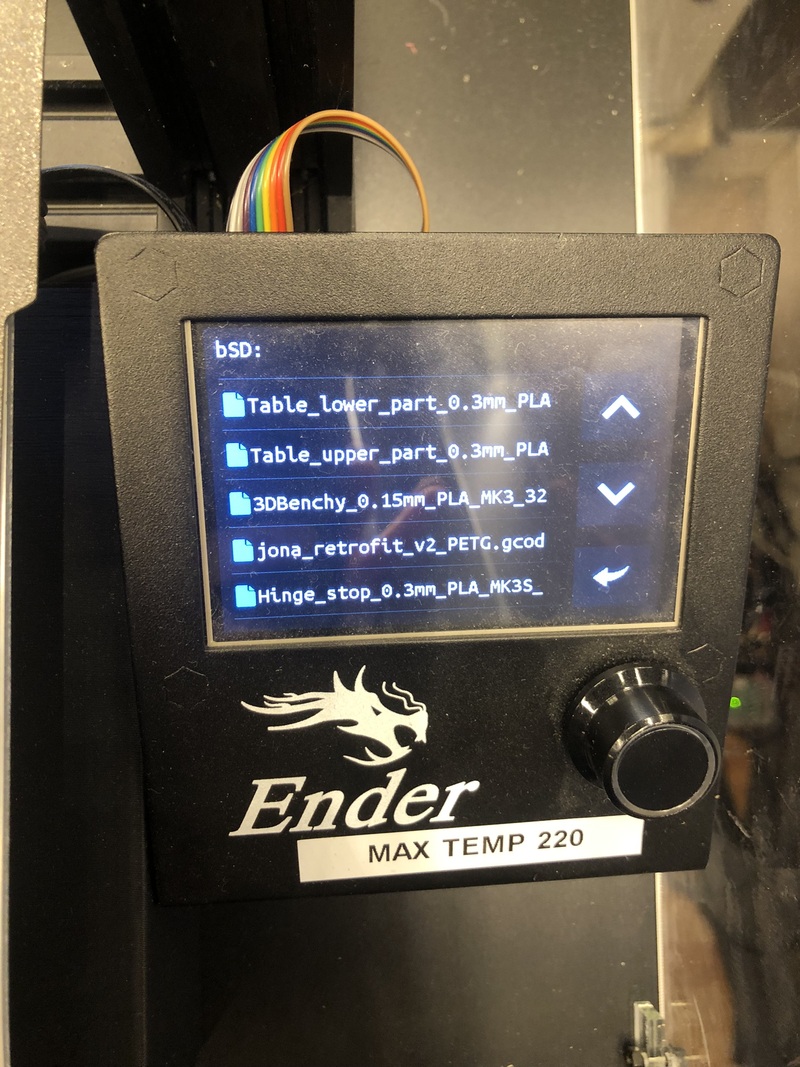
Now you can load your file and start printing.
-
If the print is not properly adhering to the bed (nozzle too close or too far from the bed), you can use BabyStep to change the Z height of the nozzle while printing.
Notes
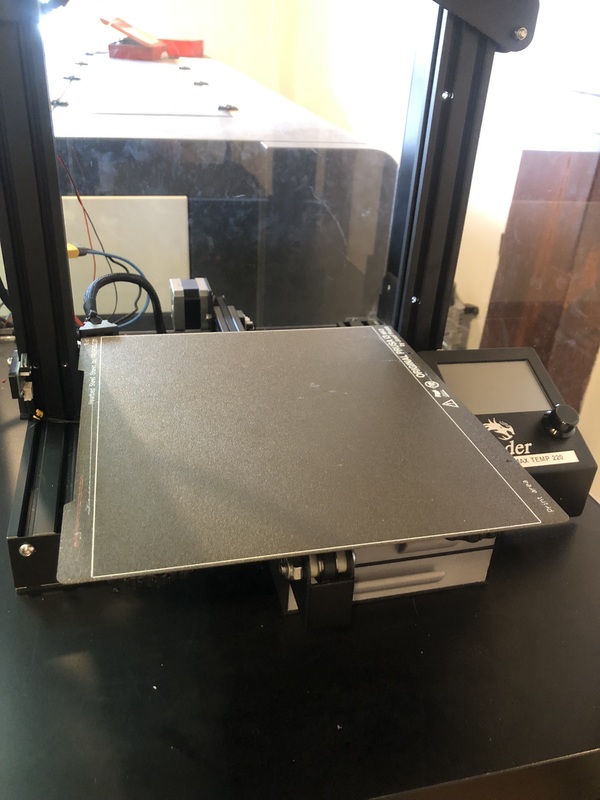
- The bed we use for the Ender is a Prusa bed rotated 90 degrees
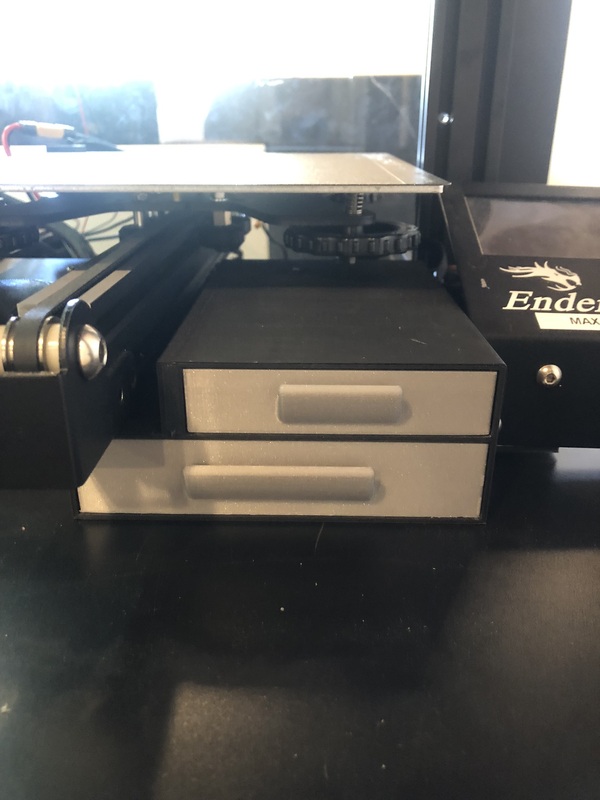
- In the drawers you can find various tools
- Maximum temperature you can currently use without problems (usually) is 220 degrees Celsius. Higher than that sometimes gives issues with the thermistor resulting in the machine beeping and halting. When this happens you have to turn the machine off and back on and start over.
