How to use the 3018 CNC
The Modela is the default machine for PCB milling. However, the 3018 CNC mills almost just as well for a fraction of the price of a Modela. If you’re looking for a small milling machine for around 200 euros, this is a good investment. We have a couple of them in the lab with various upgrades.
How to use
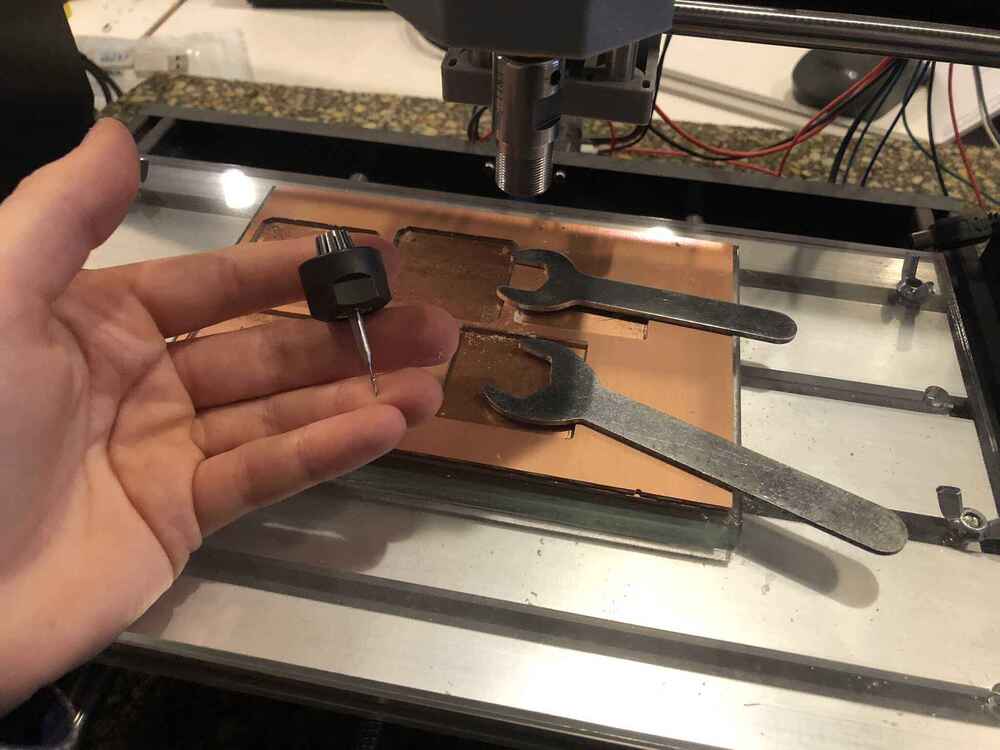
Change the milling bit by loosening the collet and nut. Use two wrenches to loosen them and to replace the milling bit. Make sure you have the correct collet (for shafts of 1/8 inch).
G-Code
Generate the gcode (.nc files) with mods. You have to go to modsproject.org, do a right mouse click and navigate to Programs > Open program > G-code > mill 2D PCB.
Settings are the same as for milling with the Modela, except for the cutting speed for all axes which is 2,5mm/s instead of 4mm/s. By default, the spindle speed is set to 11000 RPM. However the 3018 has a maximum of 10000 RPM so if you don’t change it, it will still be 10000 in reality.
Tool: traces | Cut depth: traces | Tool: outline | Cut depth: outline | Cut speed (X, Y) — | 0,25mm conic mill | 0,00325 inch | 0,8mm end mill | 1,55mm (0,6096mm per pass) | 2,5mm/s
When you calculate it saves an nc file automatically.
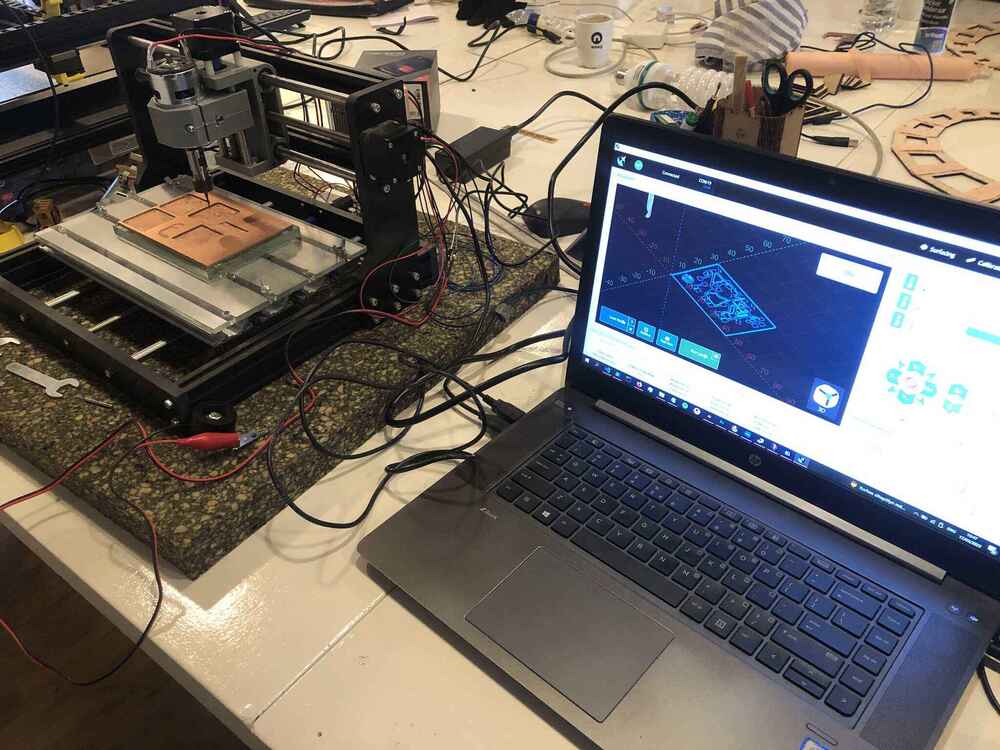
gSender
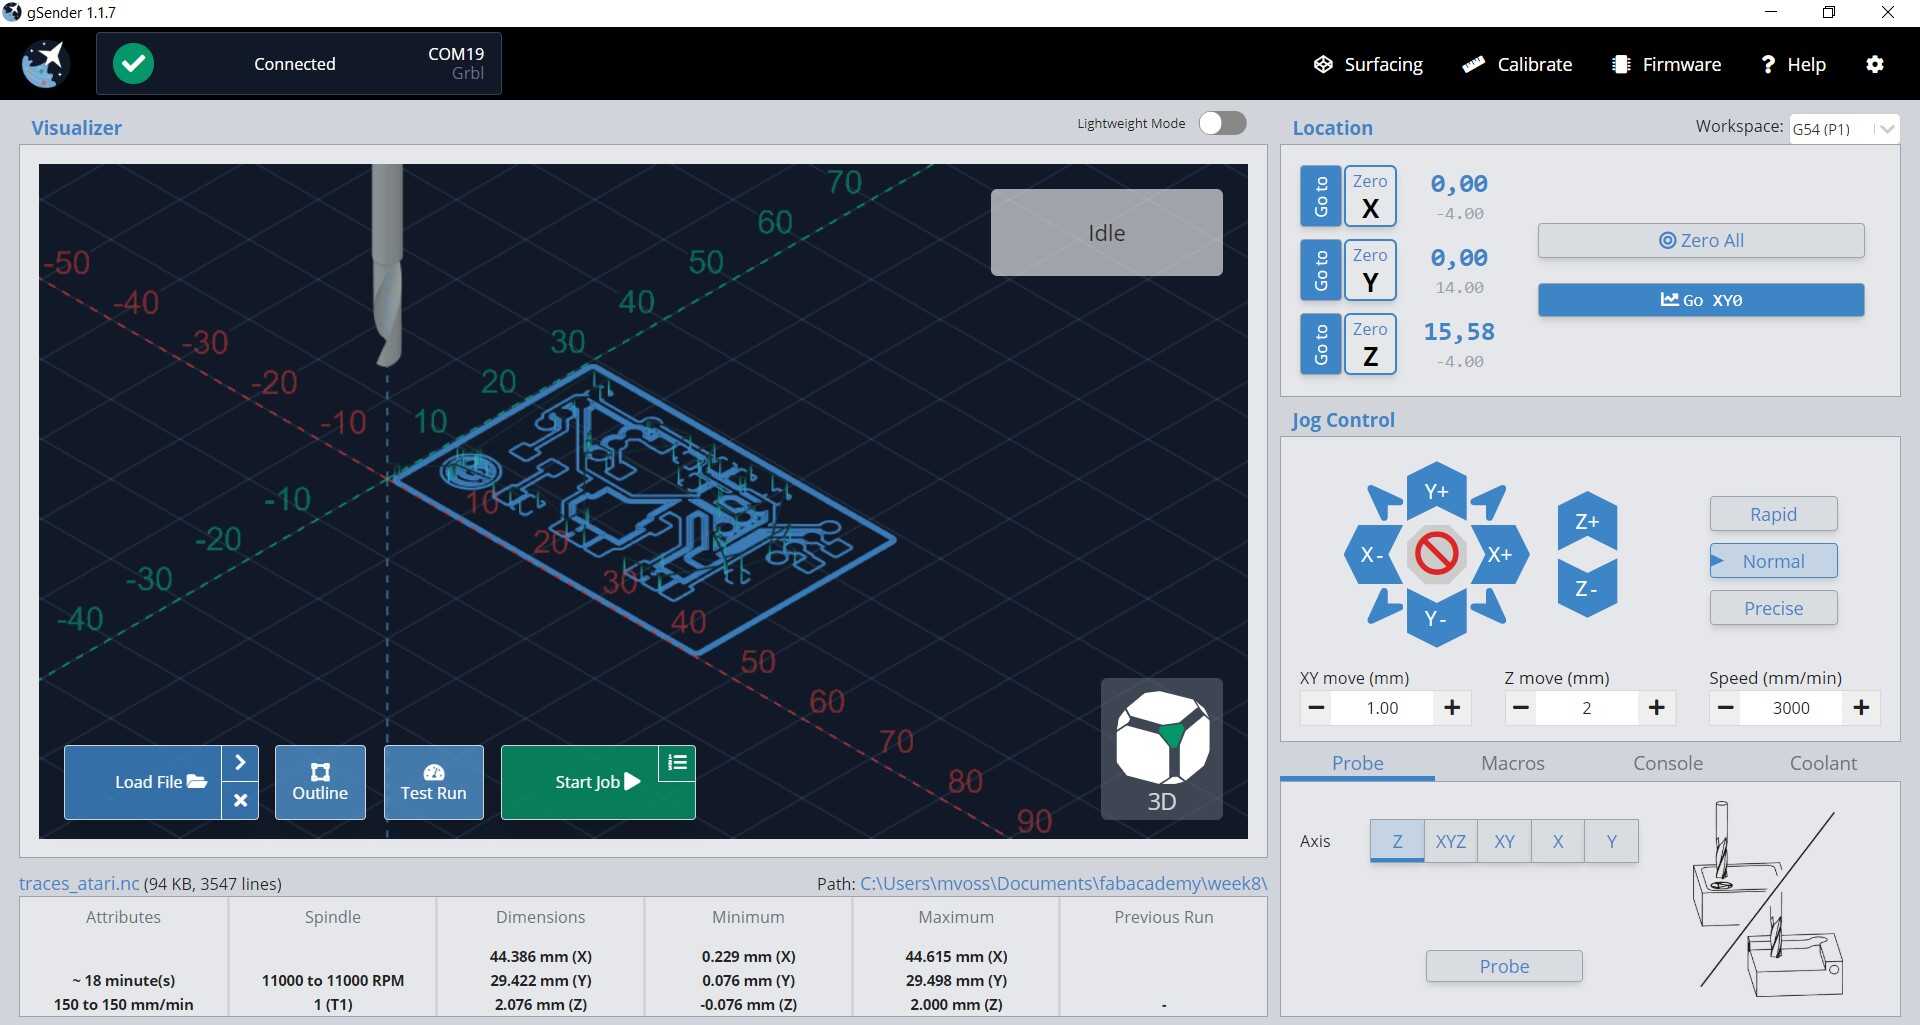
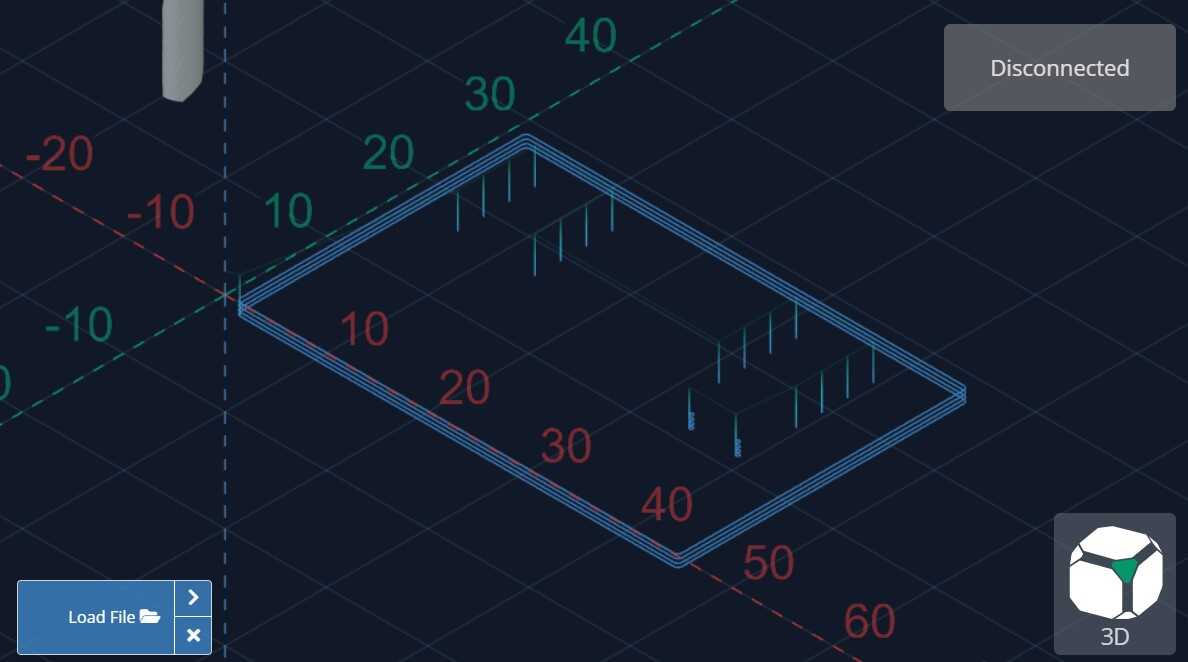
gSender is a really nice open source CNC control software that we use to operate the 3018. Download Gsender here. Load the file for milling the traces with the Load File button.
Zeroing
Move to the X,Y position where you want to start the file and press the Zero X and Zero Y buttons in the left top menu.
Zero Z with the metal Z Touch Probe. The official way to do this is by measuring the exact dimensions of the block, and filling that in in the software settings, then leveling on top of the metal block. The easier (and better) way to level, is to probe on the copper plate directly by setting the Z thickness to 0.
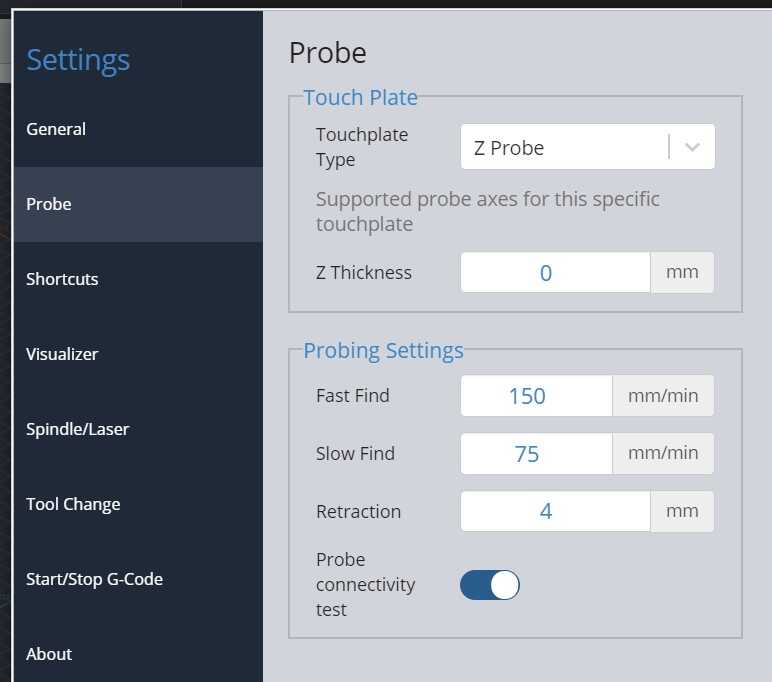
First select the Z Probe in settings, and set the Z thickness to 0. Make sure that Probe connectivity test is checked.
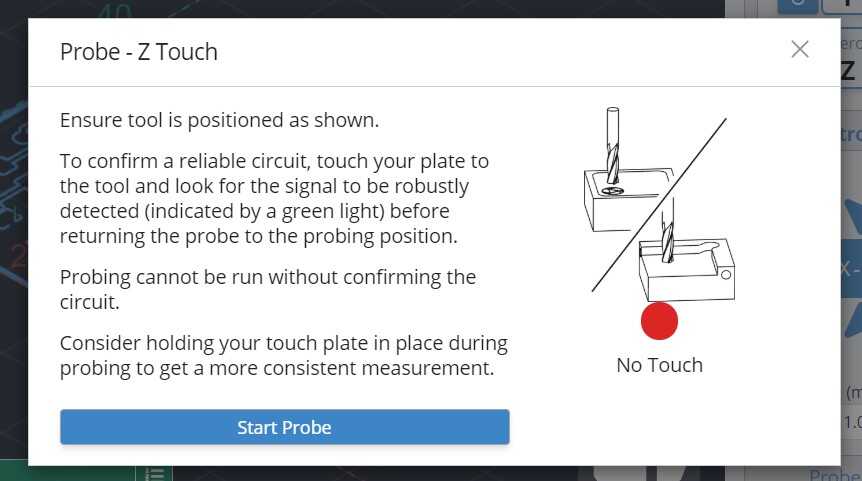
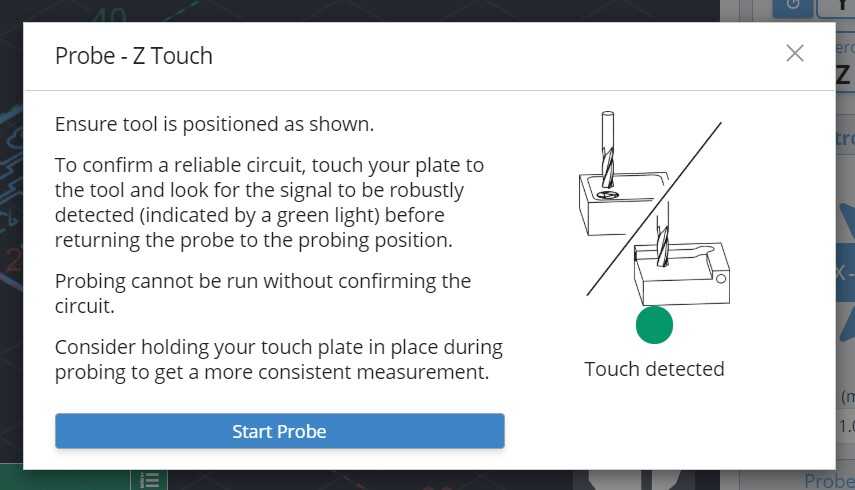
Clip the alligator clip to the milling bit and hold the metal block onto the copper plate: because the copper is conductive it will detect the metal plate there. Click Probe (Axis Z) in the bottom right menu. Before the software lets you continue, you have to hold the metal block to the milling bit to check the connection. the red circle turns green when a connection is detected.
Now level the Z axis. Keep holding the the probe to the copper plate firmly until the machine is done leveling. Then remove the alligator clip! If the spindle starts spinning with the alligator clip attached, it’s going to be messy.
Milling
Then you can start the file. This machine has a plastic spindle assembly and it’s way more sensitive for vibrations than the Modela. When the traces are milled, load the holes & outline file, go to X,Y 0,0 again, replace the milling bit and zero Z again with the steps above.
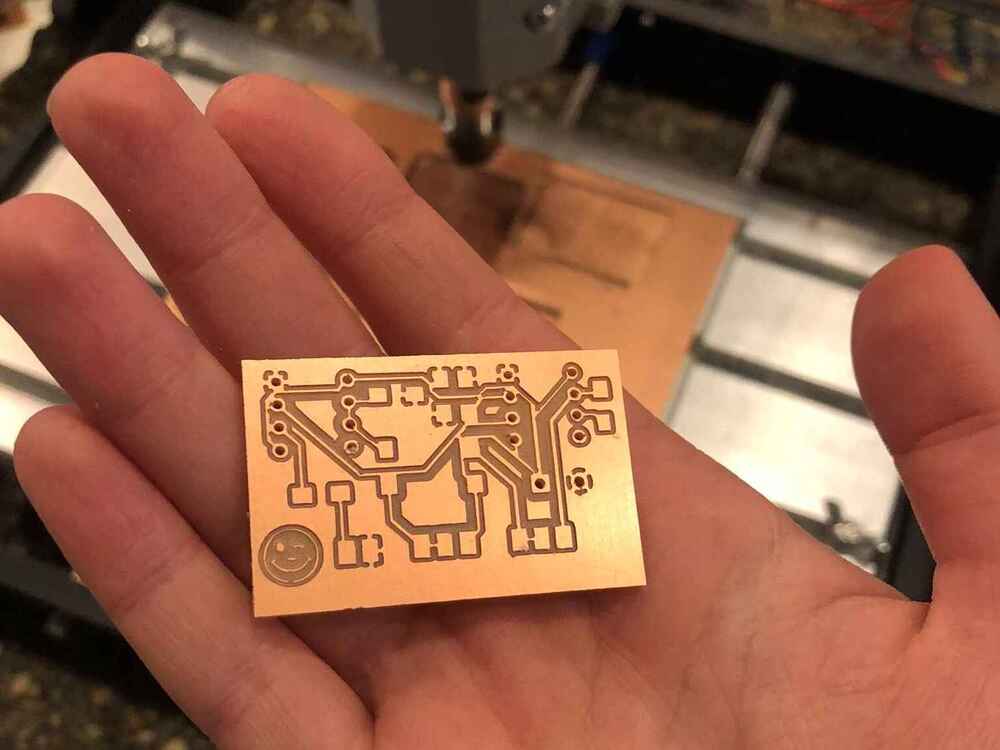
Finished result after sanding with a piece of paper: