How to use the Roland vinyl cutter
We have the Roland GX-24 Desktop Vinyl Cutter. There are two options to use the vinyl cutter: you can use mods (locally or in a Chromium-based browser) or witha plug-in in Adobe Illustrator. Mods is the option we use most and is the workflow described here. You can work with SVGs and PNGs (and HPGL for pen plotting); if you can, use SVGs because you’ll probably get a better result. You can trace a black and white image using Image Trace (Illustrator) or Trace Bitmap (Inkscape).
Common issues
Some notes before you start with the machine:
- Give your SVG/PNG image a black fill and no stroke
- When exporting SVGs from Illustrator, the SVG file usually doesn’t contain a width and a height. This causes mods not to read the SVG file. One way to solve this problem is to open the SVG file in Illustrator and save it again without a check mark next to Responsive. What this accomplishes is that the dimensions of the SVG image becomes absolute and not relative to the dimensions of the medium it is viewed in.
-
Another thing to pay attention to is the decimal places of the svg. For maximum quality, this should be set to 7.
.jpg "SVG error")
.jpg "SVG correction")
-
Motor error: vinyl roll is probably stuck somewhere. In this case you should remove the roll, restart the machine and start over.
How to use
Setting up the machine
-
Choose your material. If you go for normal stickers, keep the sticker material up. If you go for thermovinyl (to iron on clothing or objects) make sure the plastic side is faced down and mirror your design! If you can’t tell what the right side of the material is, you can peel at the corner of the material to see; for thermovinyl the backing material is often clear plastic.

-
Turn on the machine with the power button in the front right bottom corner. Push the lever in the left back of the machine away from you to feed the material. Feed the material from the back.

-
Adjust the Left Pinch Roller and Right Pinch Roller in between the white spaces according to the desired width. Use the lines in front of the machine to align your material. Then pull the lever towards you to secure the material.

-
Choose from the Operation Panel the type of material: roll or piece. The cutter head will trace the material and tell you the usable dimensions. After that it will move to the point of origin (left side where the left pinch roller meets the white line).
A small 1 degree misalignment can become a big issue when cutting large pieces. Once loaded, you can use the up and down arrow buttons on the operation panel to move around the material to see if it’s aligned correctly. If not, repeat step 3 and 4.
Controlling the vinyl cutter with mods
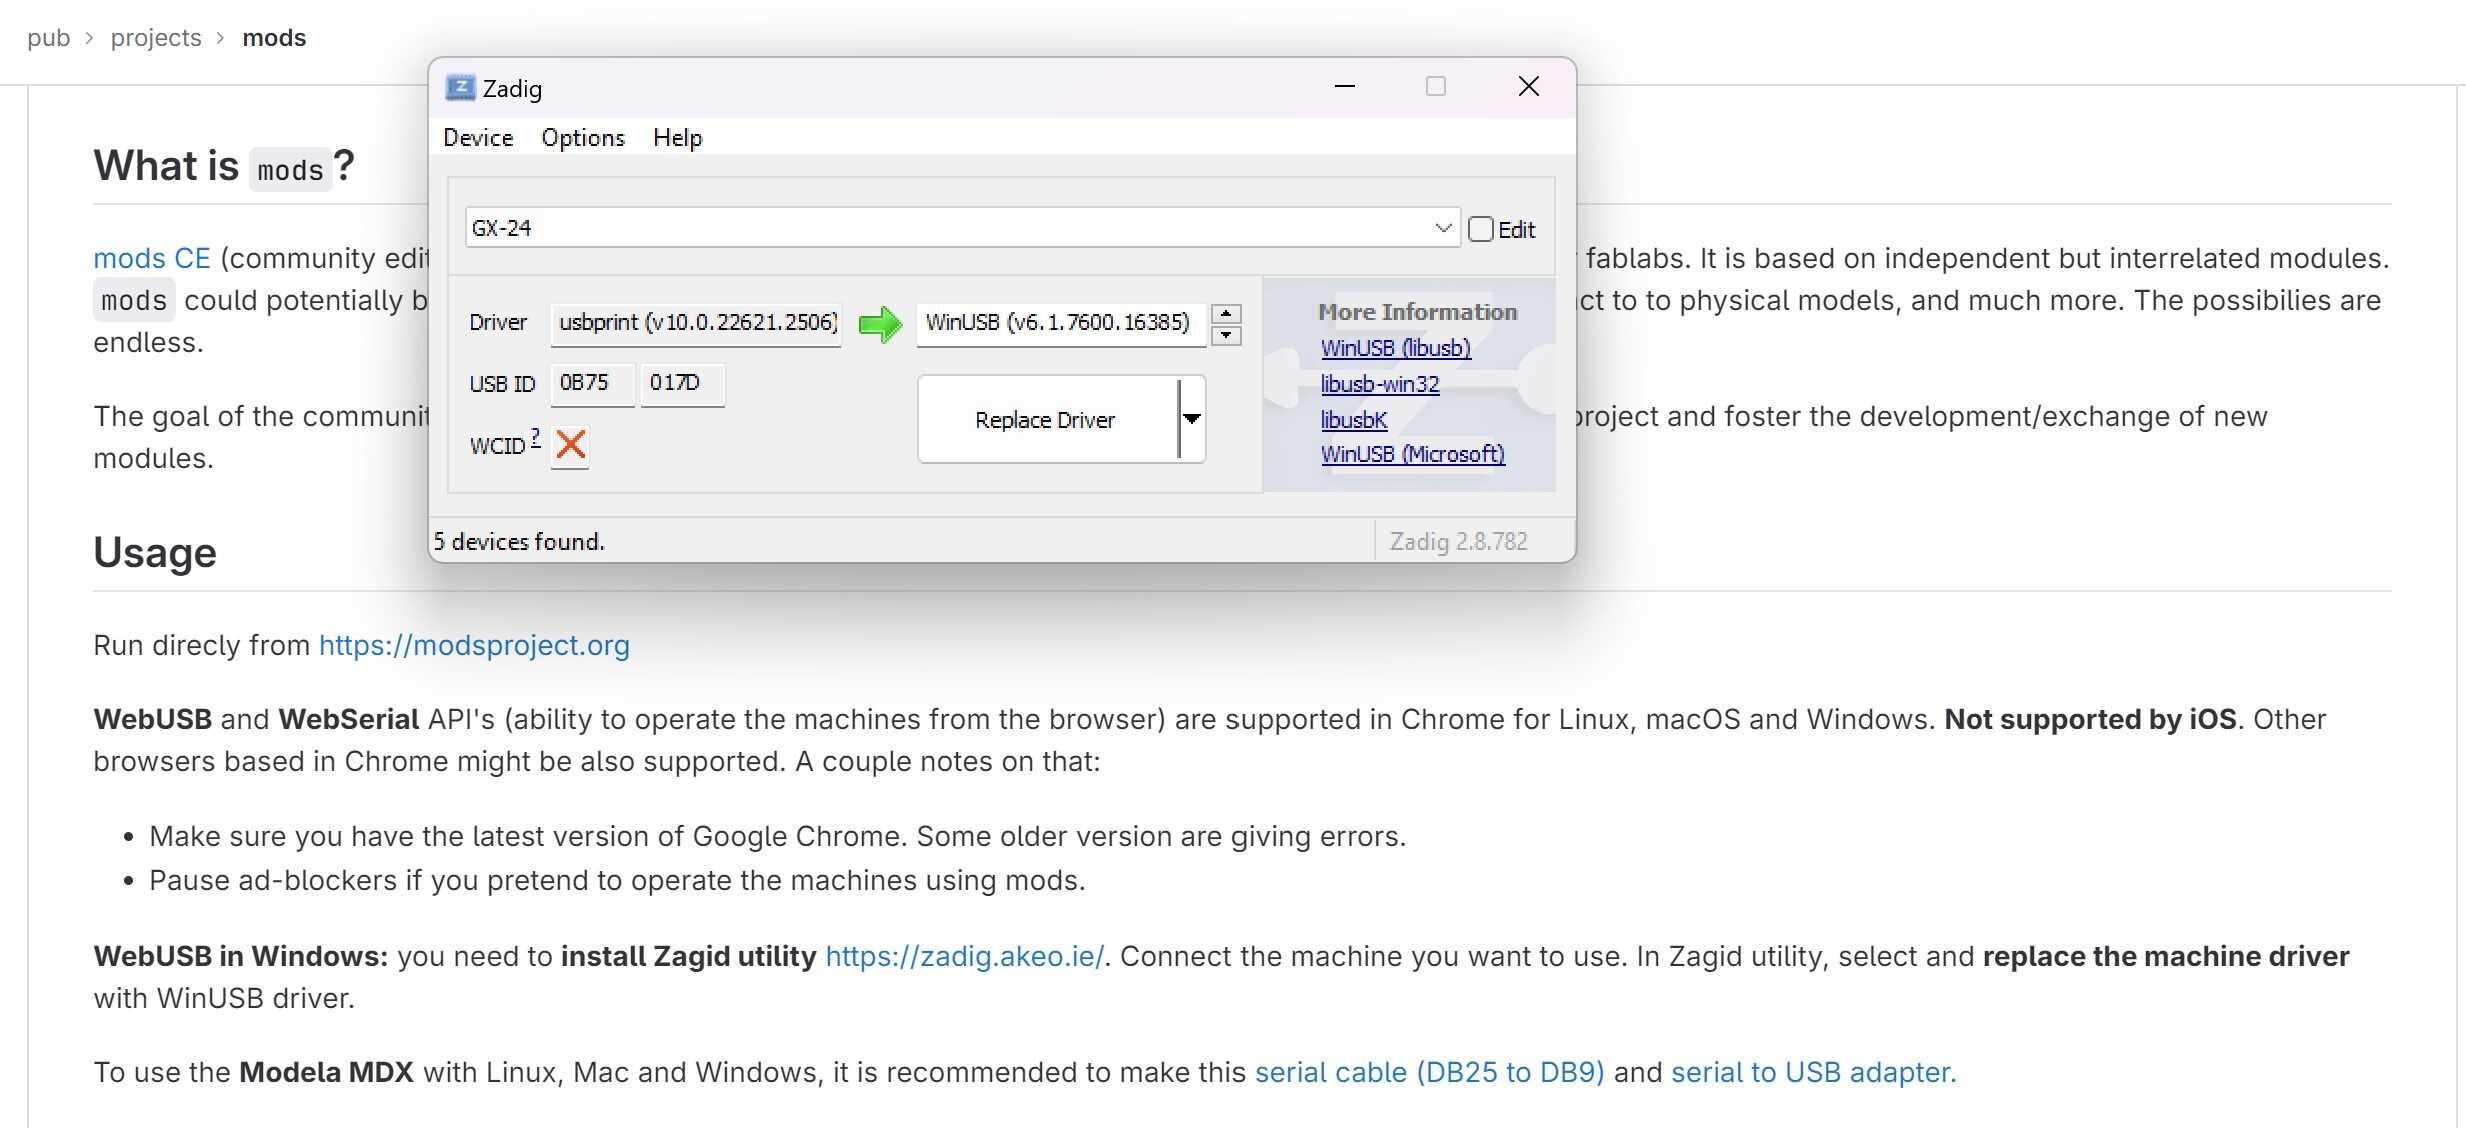
You can operate the vinyl cutter with your own computer connected via USB cable. Make sure to check out the Usage steps on Gitlab. If you’re on Windows you need to install Zadig Utility to replace the machine driver.
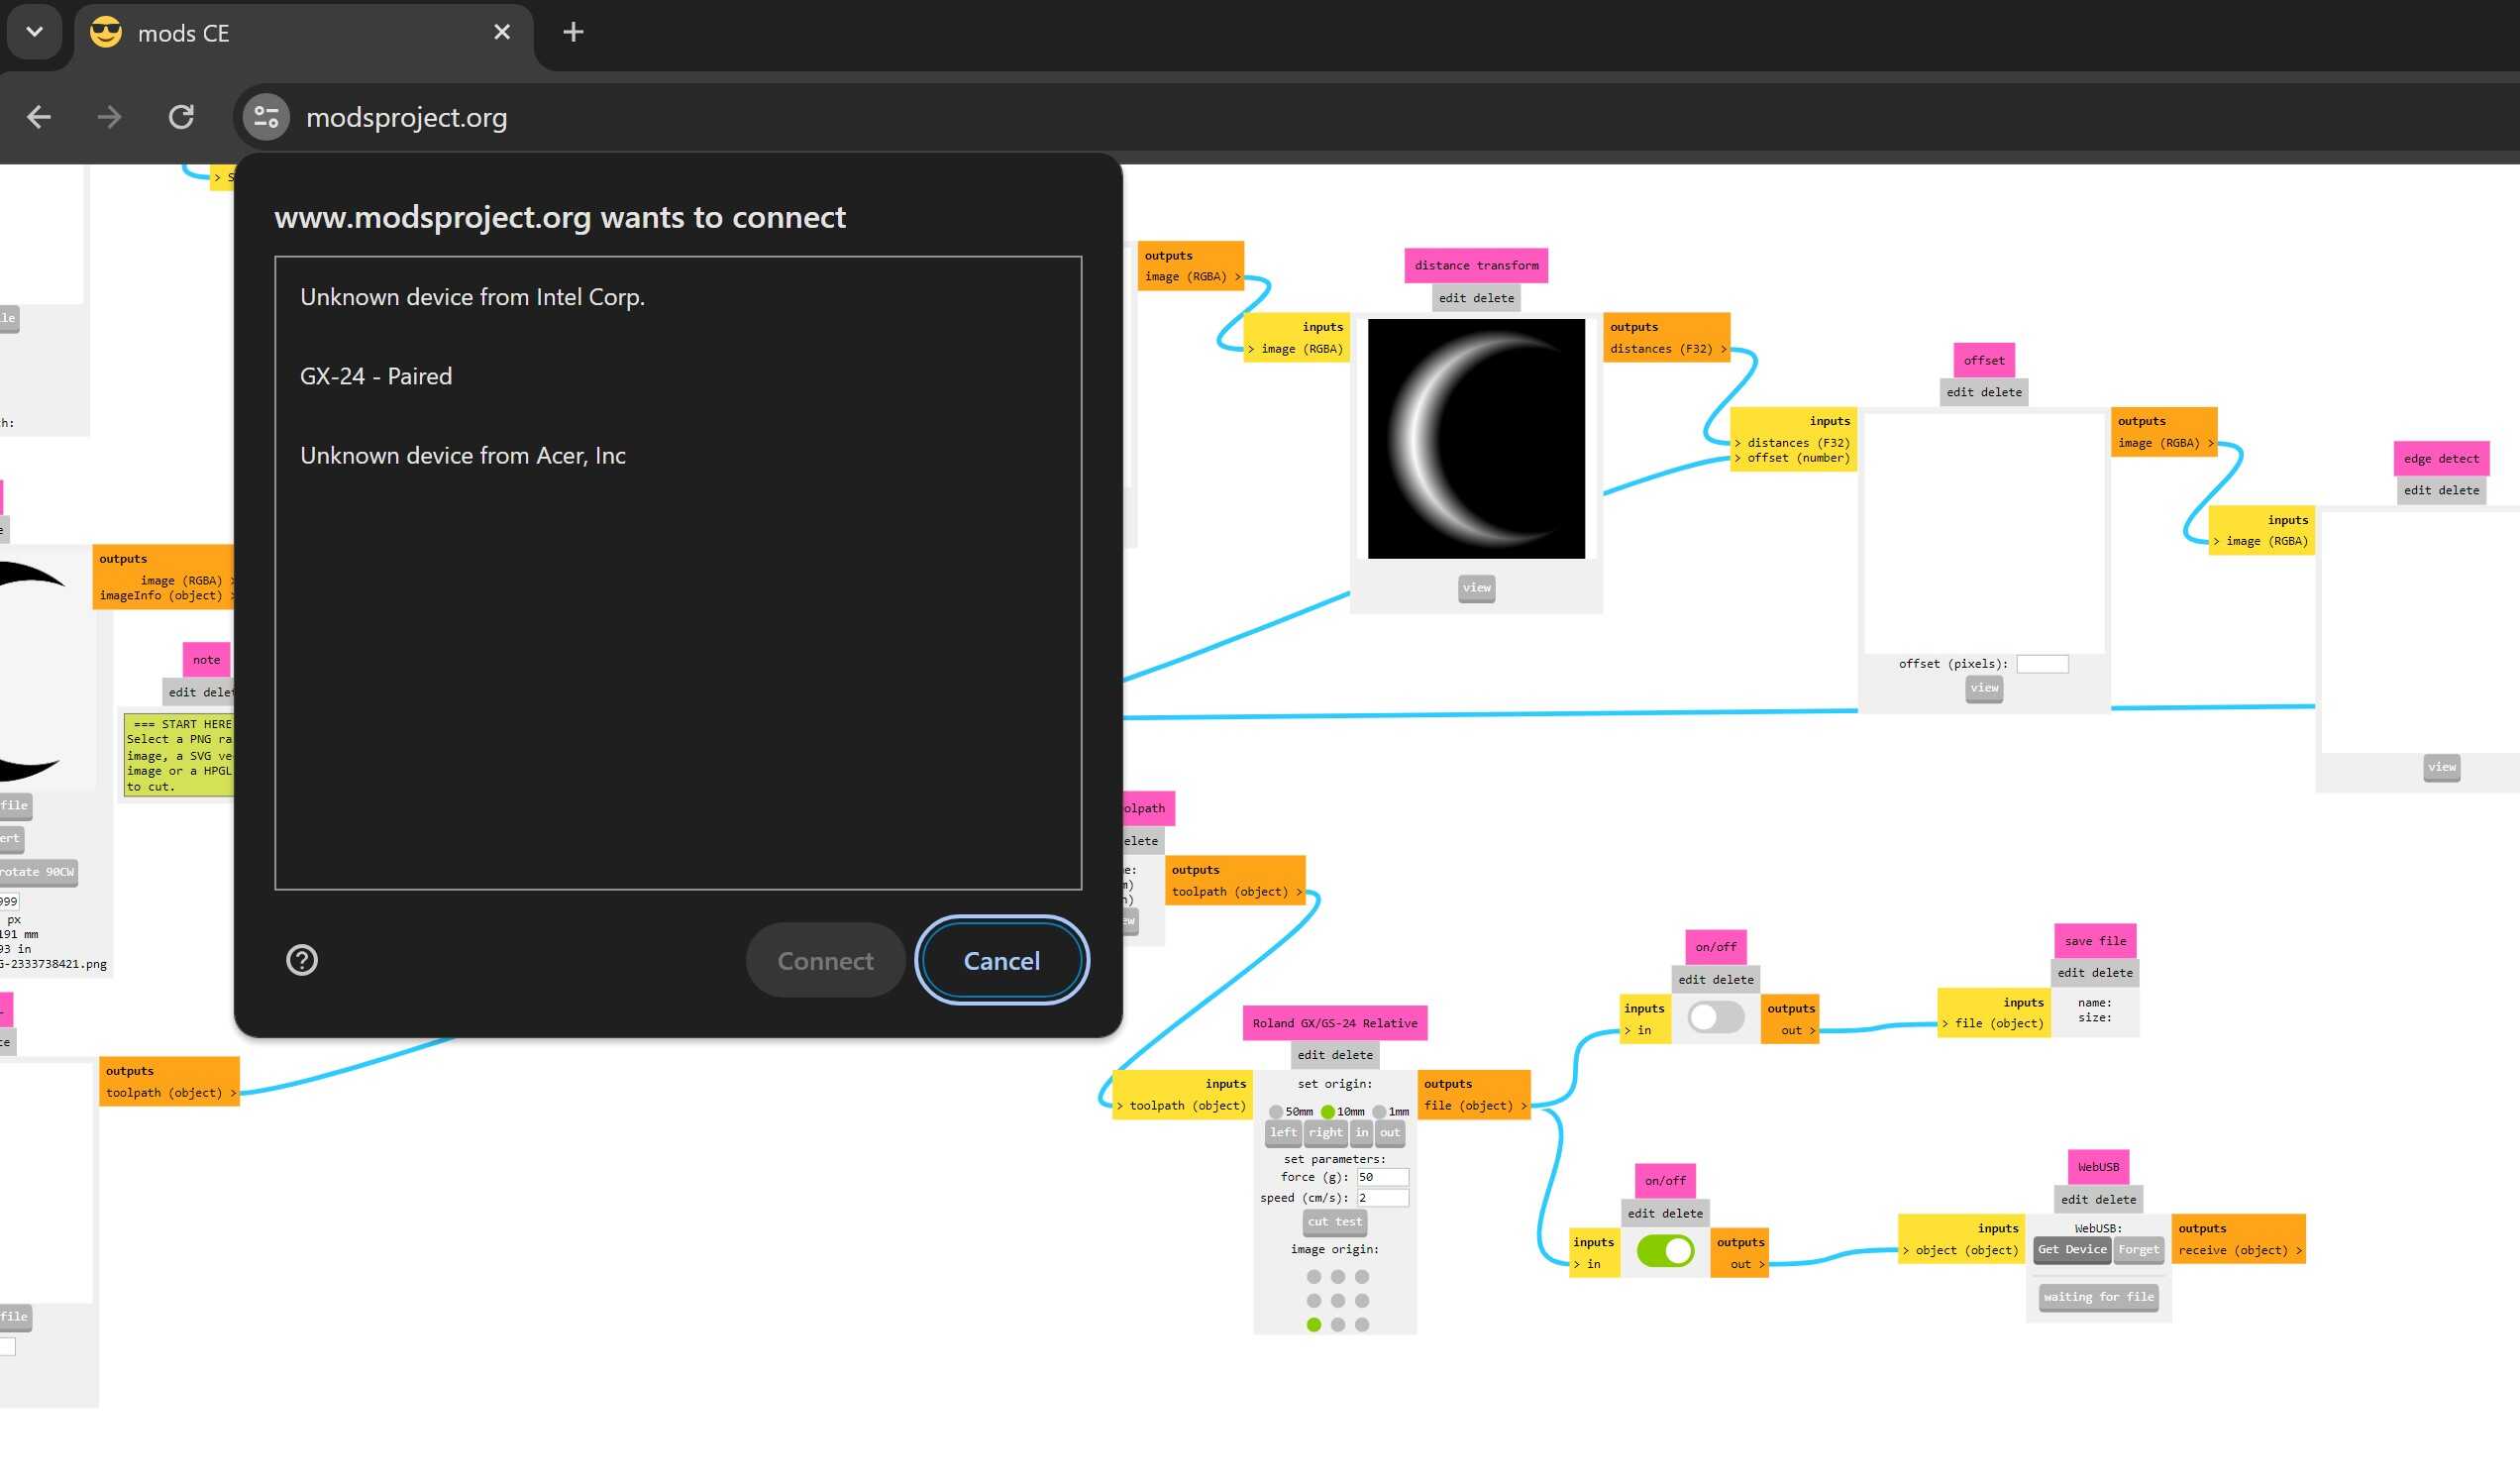
Make sure you have Chrome/Chromium installed as connecting with USB devices like this is only possible there. Connect to the machine with the USB cable, and turn on the vinyl cutter. Go to https://modsproject.org/, then right click > click programs > open program - GX-GS 24 vinyl cutters > cut. Locate the WebUSB module and click on Get Device. Select the GX-24 then click connect.
Then follow step 4 to 7 from the following tutorial; to start your file simply click Send file.
Running mods locally
These are the steps when using the vinyl cutter with mods installed locally (on the vinyl cutter computer running on Linux).
-
Open terminal and type
cd mods
-
Then type:
bash mods
-
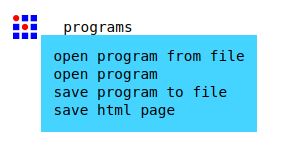
A new window will pop up on your browser, right click the icon on the top left corner and click programs > open program - GX-GS 24 vinyl cutters > cut.

-
Select SVG (or PNG) file and choose your file.
-
Edit the measurements according to your preferred outcome as well as the threshhold to finetune cut. Set origin wherever makes most sense for your design and material. If the cutter head is in the left bottom corner, then set the origin to the left bottom corner.

-
Press calculate. In the preview you can see the generated paths so double check if it looks good.
-
Before you send your file, it’s a good idea to do a cut test. Do not click the button on the operation panel, but use the button in mods. Change the force (g) value if it doesn’t cut through the material or if it cuts too deep. For stickers the value is usually around 90, for thermovinyl it’s a bit lower (around 70/80). Speed is usually set to 2cm/s.
-
Close both sockets and then open socket for the WebSocket device, then send the file to the vinyl cutter to start cutting immediately.

Using Adobe Illustrator (Windows)
Send your file to the vinyl cutter with File > Print (ctrl+p).
Notes
- Vector stroke thickness should be set to something like 0,01pt, otherwise they will be interpreted as double lines
- Set origin on machine before starting
- If you have a large file (over a meter long), try to split it to avoid wasting material when something goes wrong (like the roll getting stuck or the computer somehow losing connection)
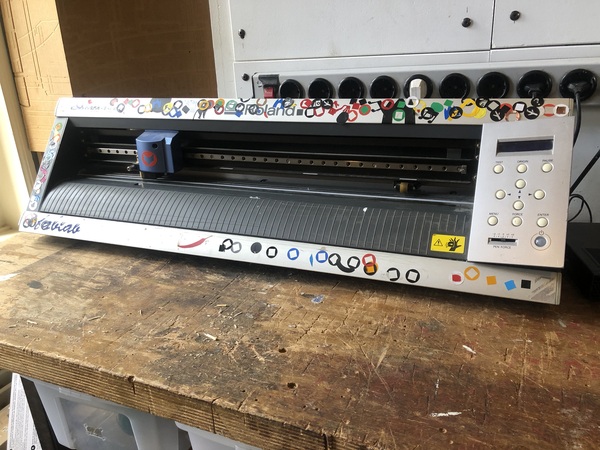
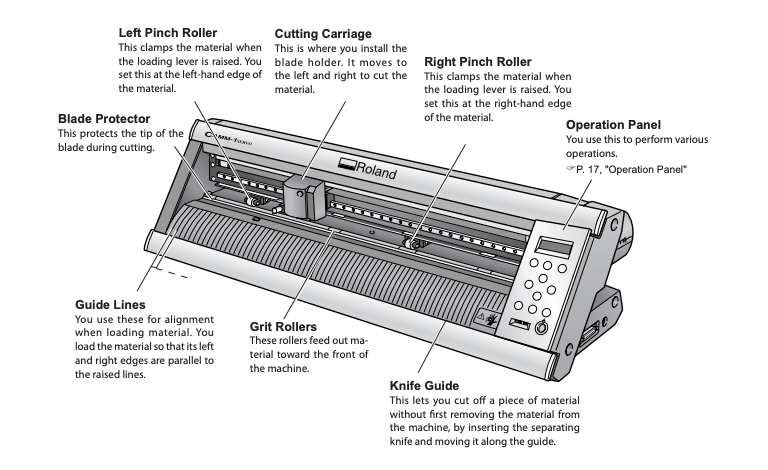
Overview of the machine
Below you can find an overview of the parts of the machine and their function.
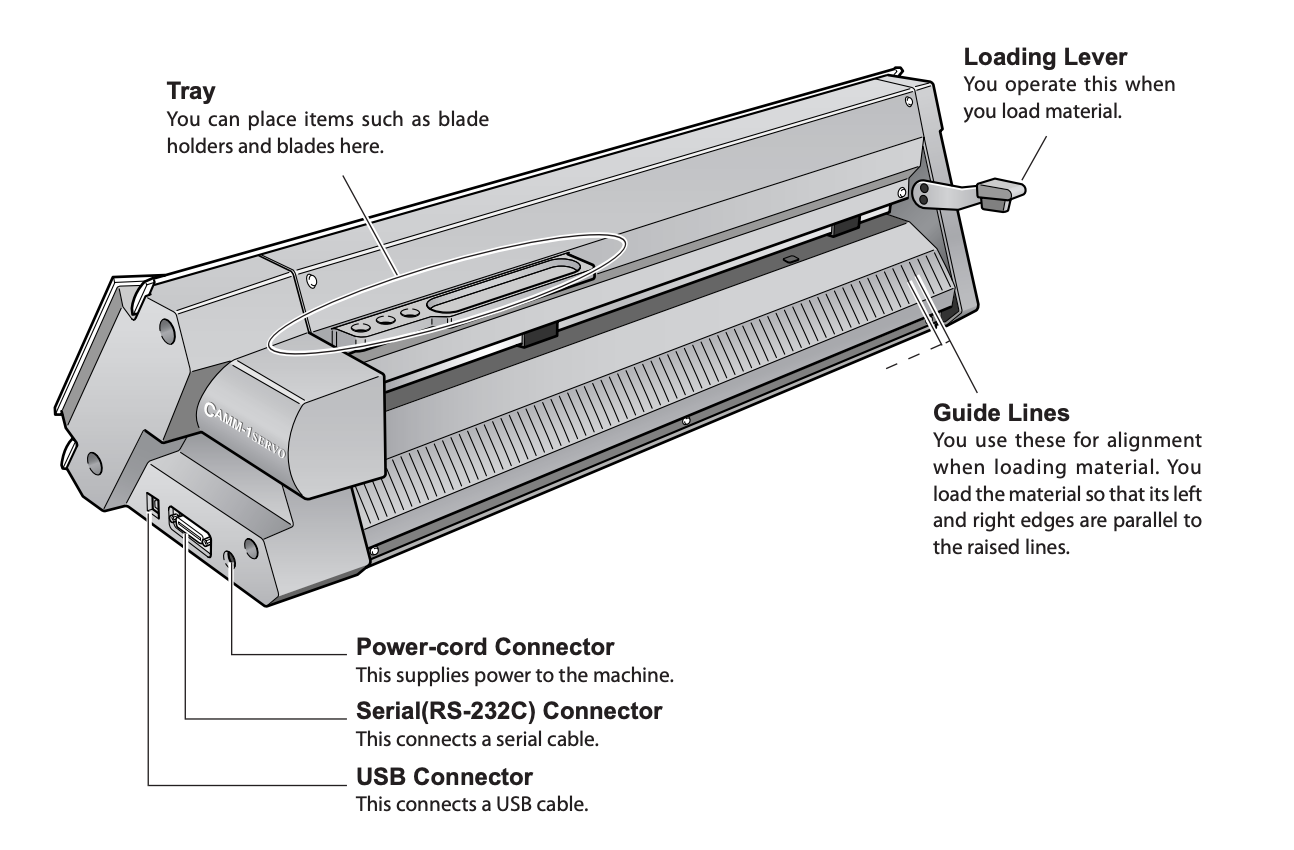
The operation panel:

Links
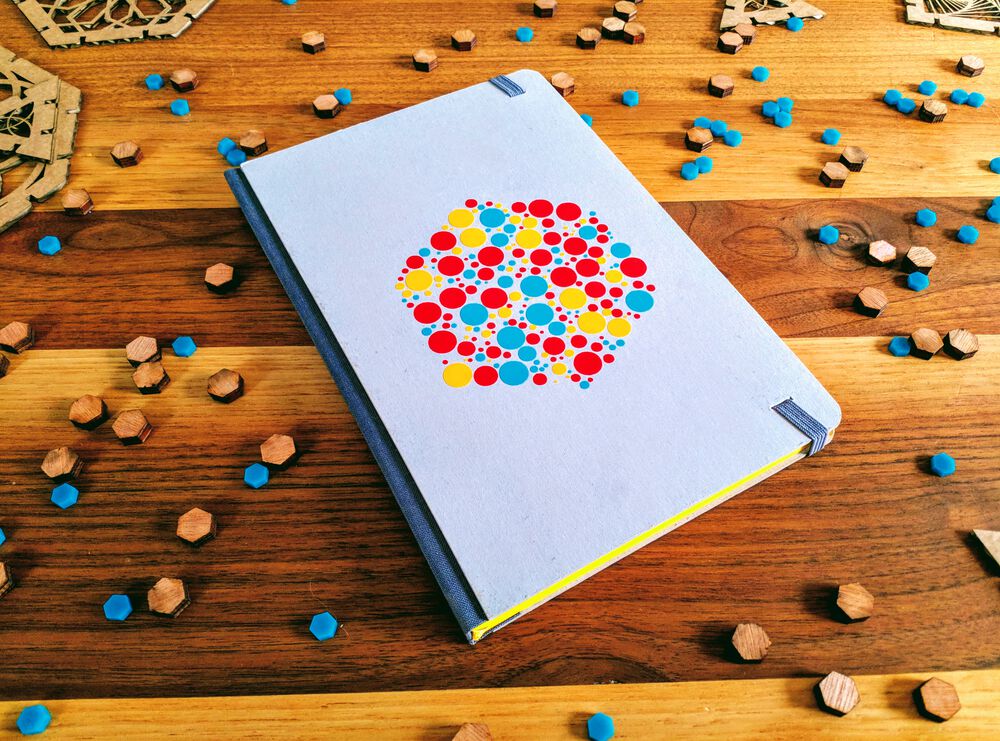
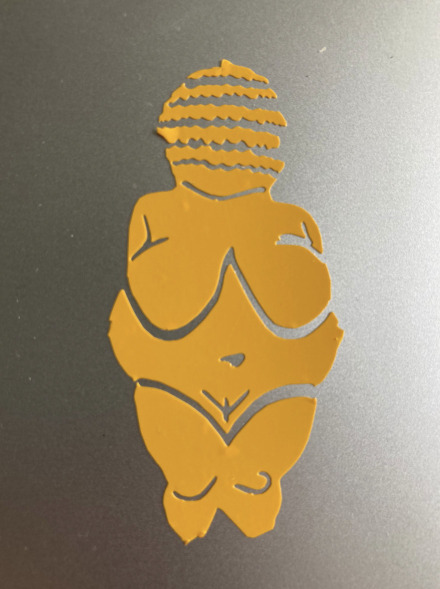
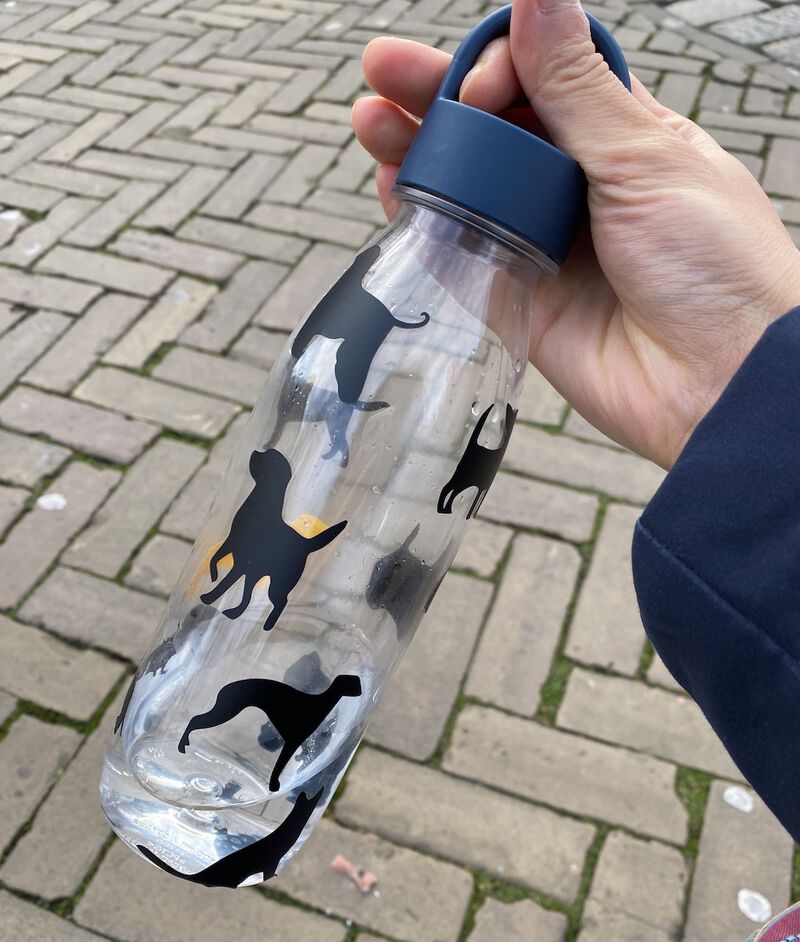
Made @ Fablab
Click the images to visit the documentation pages of the projects.