How to use the Cricut Maker 3

We have Cricut Maker 3 cutting machine. It is a versatile machine which can cut vinyl, paper, fabric, balsa wood, matboard, leather and many more. With the proper tool (the knife blade) it can cut up to 2.7mm thickness. The several tools extend the capabilities of the machine to include scoring, drawing, debossing, engraving and more.
Cricut Maker 3 requires its own software to send projects. You need to download (Cricut Design Space). Cricut Design Space works with Windows and Mac operating systems. You can also control your machine with its app via your phone or tablet, however, its use is limited on the mobile app.
How to use the basic vinyl cutting function
In this tutorial, we are going walk through the steps of cutting a vinyl sheet material.
Turning on your machine
-
Choose your material. We are going to use Cricut’s own Removable Smart Vinyl. You do not need to place a mat under the material when using smart materials. If you are using another thin material (such as paper, fabric, etc.) place your material on a mat appropriate for your material.
-
Plug your machine to a socket and connect the machine to your computer with the usb cable that comes with the machine.
-
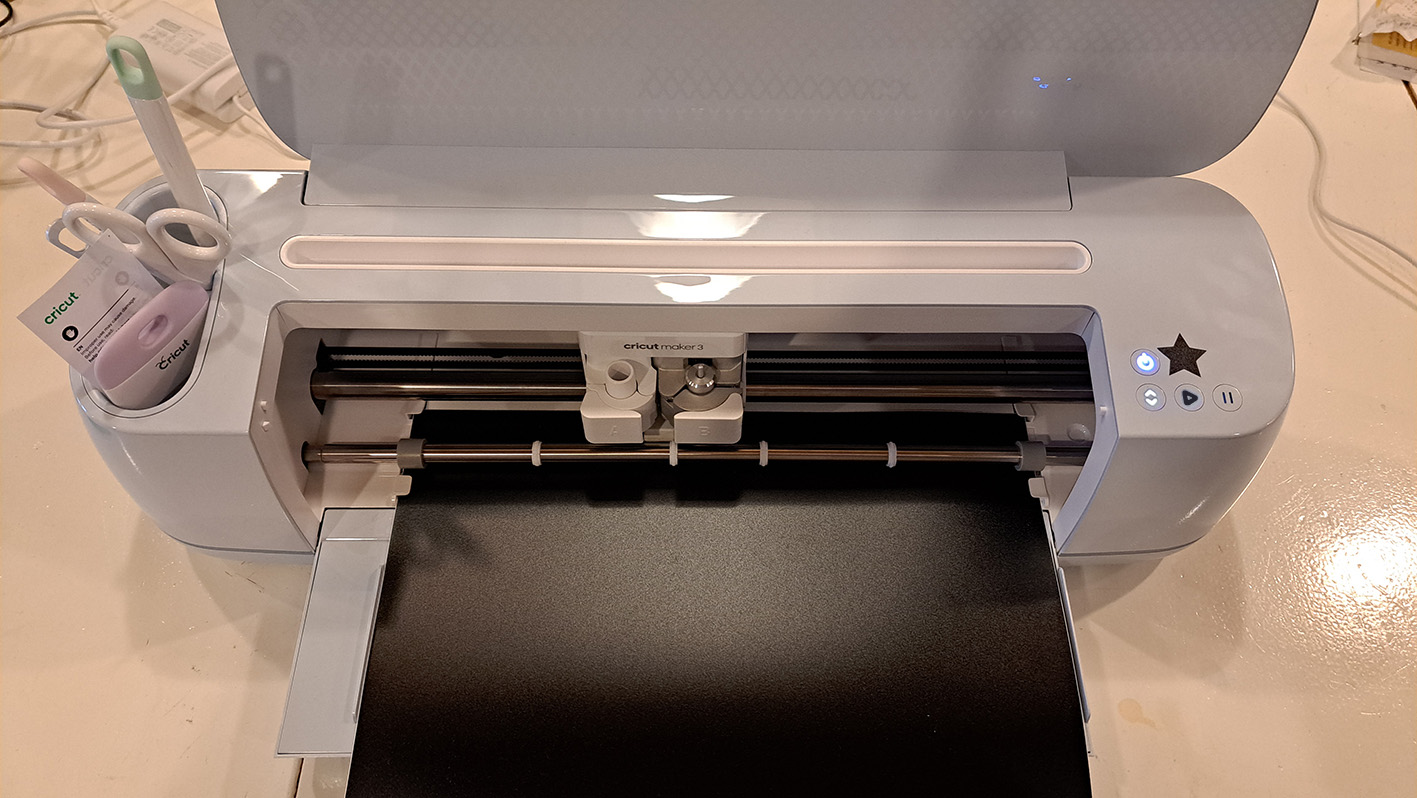
Turn on the machine with the power button. Place your material (or your mat with the material on it.) on the bed until they reach the rubber rollers on both sides. Make sure your material/mat goes under the guides. IMPORTANT: if you want to use a heat press vinyl make sure the matt side of the vinyl is facing up


Controlling the Cricut Maker 3 with Design Space
-
Open the Design Space software. Make an account with Design Space if necessary. Press the New Project button on the right upper corner.

-
On the design area, you have several options to create a project or bring in a project designed previously. Use the tools on the left bar to select what you want to do. If you want to bring in a project, select Upload.

-
Compatible file types are: .jpg, .gif, .png, .bmp, .svg, .dxf. Press Upload Image. Locate and select your file or drag and drop your file. When the file loads in the Design Space, hit Upload button on the right bottom corner.


-
Select the last file from the Recent Uploads and hit Add to Canvas.

-
Check/adjust the measurements of the design, rearrange if necessary. When cutting a heat press vinyl select FLIP>FLIP HORIZONTAL so that your design is mirrored. You can use the tools on the top bar to make these changes. If you have several separate objects in your canvas and you want to keep their relations the same while cutting, i.e. if you want to cut your design as you see them on the canvas, press Attach button at the bottom of the right panel. When you are ready to cut your design, select Make It on the right top of the canvas.

-
Select Without Mat option and hit Confirm since we are using a smart material. However, if you are using another material with a mat, select On Mat.

-
On the next screen, review your artwork and change its location on the material if necessary and press Continue.

-
Choose your material from the list. When you select your material, the software will automatically skip to the next step. If you want to make changes to the material selection, press the down arrow on the right side of BASE MATERIAL IS SET TO:…


Using the machine controls for the rest of the job
-
Load the material/mat using load/unload material button when it is blinking. When your material is loaded, make sure that there are no wrinkles or misalignments. If you need to readjust your material, press the same button again to unload. Align your material with the thick rollers again and load your material. *IMPORTANT: When loading your material or mat, make sure there is enough room at the back the machine to let it roll the material towards that side. This is especially important when using the longer mats.
-
When you are ready to cut, press Start button.

-
When the cut job is finished, press load/unload button again to retrieve the material.

Notes
-
If you want to cut thicker materials, check the below website for further instructions since you would require a knife blade to cut through such material:
-
More information about tools and materials can be found on (Cricut’s Help Page)