Lightburn

Features
LightBurn is the layout, editing, and control software that we use for the laser cutter. With LightBurn you can:
-
Import various types of vector graphics and image formats (including AI, PDF, SVG, DXF, PLT, PNG, JPG, GIF, BMP)
-
Arrange, edit, and create new vector shapes within the editor, with features like offsetting, boolean operations, welding, and node editing
-
Apply settings like power, speed, number of passes, cut order, brightness & contrast, dithering mode, and much more
-
Send the result directly to your laser cutter
See the official website for more information.
How to use
-
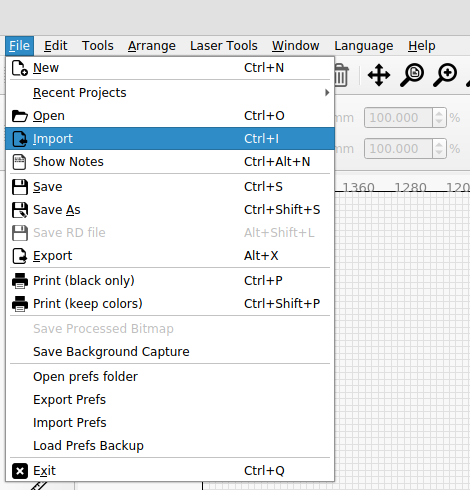
Click Import file, choose your file then click open.
-
You can check the dimensions of your design in the top menu. It doesn’t matter where the design is placed as long as it placed within the laser bed, because we don’t use absolute coordinates.

-
On the right bottom side, choose Start From: Current Position. It should already be set to this, so don’t change it. Set Job Origin to where you would like the job to start from. This is usually in one of the corners of your material.

Preparing your file
-
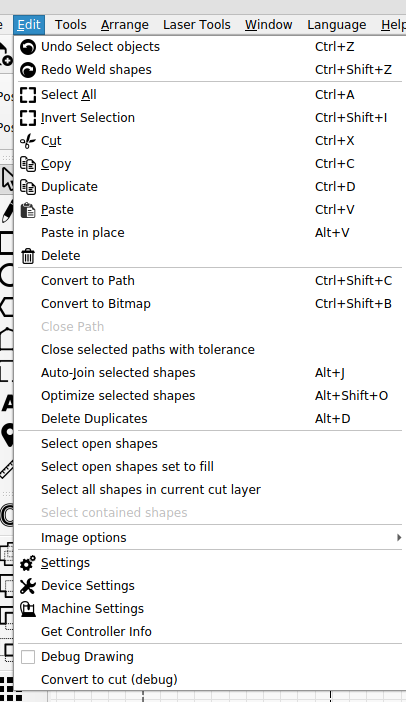
Check that your vector object is closed by clicking on edit > select open shapes then edit > close selected paths with tolerance. Under the Edit, Tools and Arrange tabs you’ll find all kinds of other useful functions that mostly speak for themselves.

-
If you need to do some adjustments to your shapes, you can edit them. For instance using boolean tools and joining objects. To join vectors you can select the objects you want to join then click on edit - auto join selected shapes.


-
You can move the laser head with the buttons on the machine, but also in the Move tab.

-
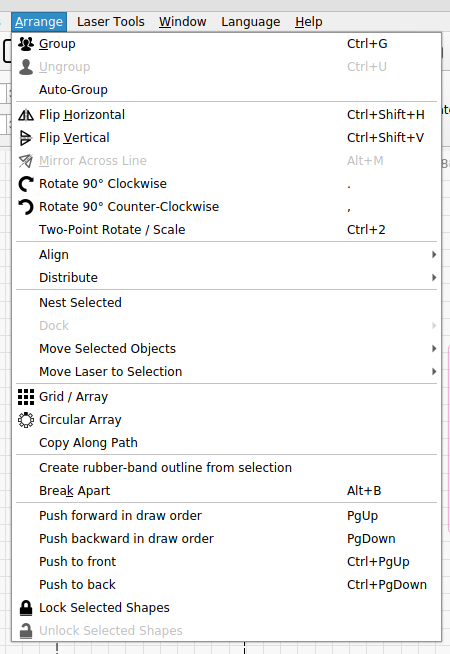
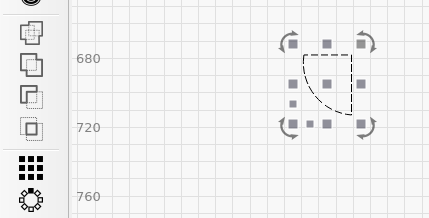
If you have multiple designs that you have to align or mirror you can use these tools:

-
With the screen icon in the top menu you can preview your file. This comes in especially handy when you have shapes set to fill and you have to make sure the right shapes are being engraved. Keep in mind that the time estimation is incorrect, especially engraving takes much longer than indicated.


-
To ensure that your shapes will be pressfit, offset the lines depending on the thickness of the material. Usually you would use kerf offset to do this, but we’ve noticed that this produces wobbly lines for some unknown reason so this is our workaround.

Settings and layers
-
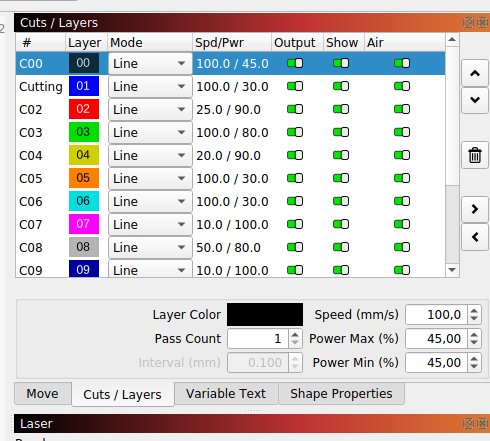
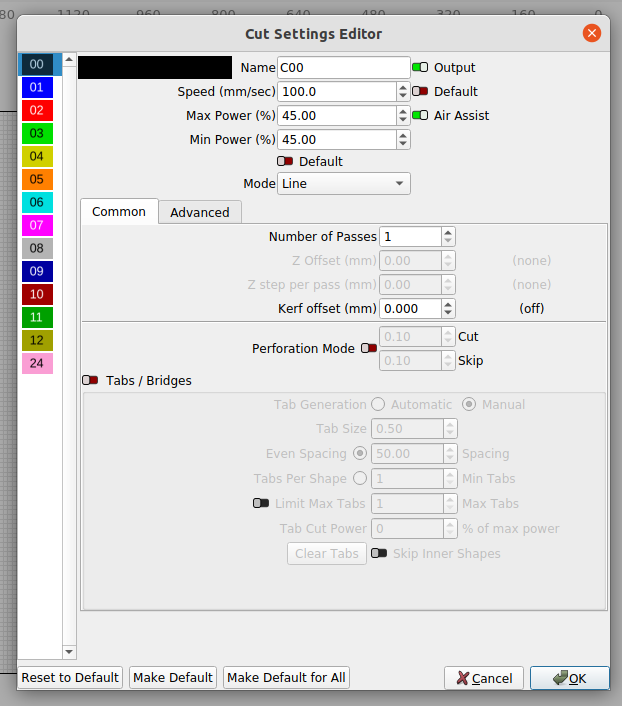
Set the speed and power in the Cut / Layers tab by clicking on the layer and changing the values below, or by double clicking the layer to change more advanced settings. You can change the order of cutting with the up and down arrows to the right and disable layers by clicking on the output button on that layer.
-
If you want to add another layer, select the shapes you want and click on a new layer color in the bottom bar.

-
You can move the objects on different layers, if you want to to run different operations for different shapes. For instance, to adjust the settings to cut all the way through for some lines while engraving other lines.
-
Using the templates hung on the wall as a reference, adjust the speed and power of the laser cutter depending on the material you are using and its thickness.

Images
-
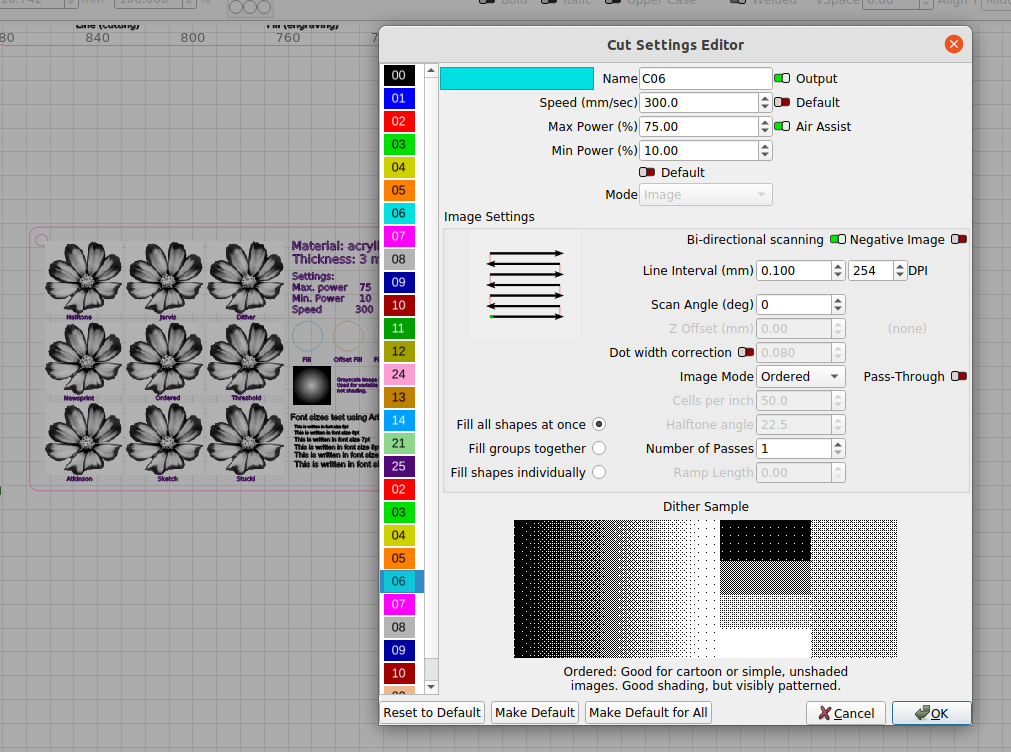
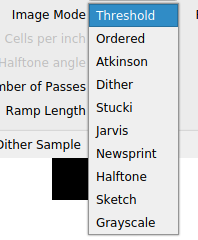
You can also import images and engrave them using different settings. You can look at the material library to see the results of various settings.
Framing and start
- Once your file is set first frame to make sure your design fits, then press Play to start laser cutting (make sure you turn on the laser head and the fume extractor first).