How to use
How to use
-
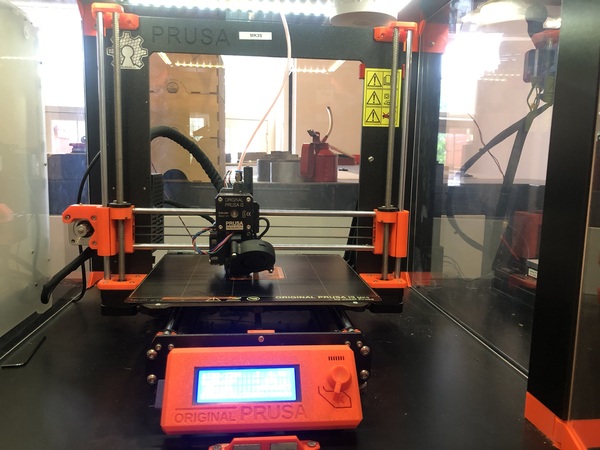
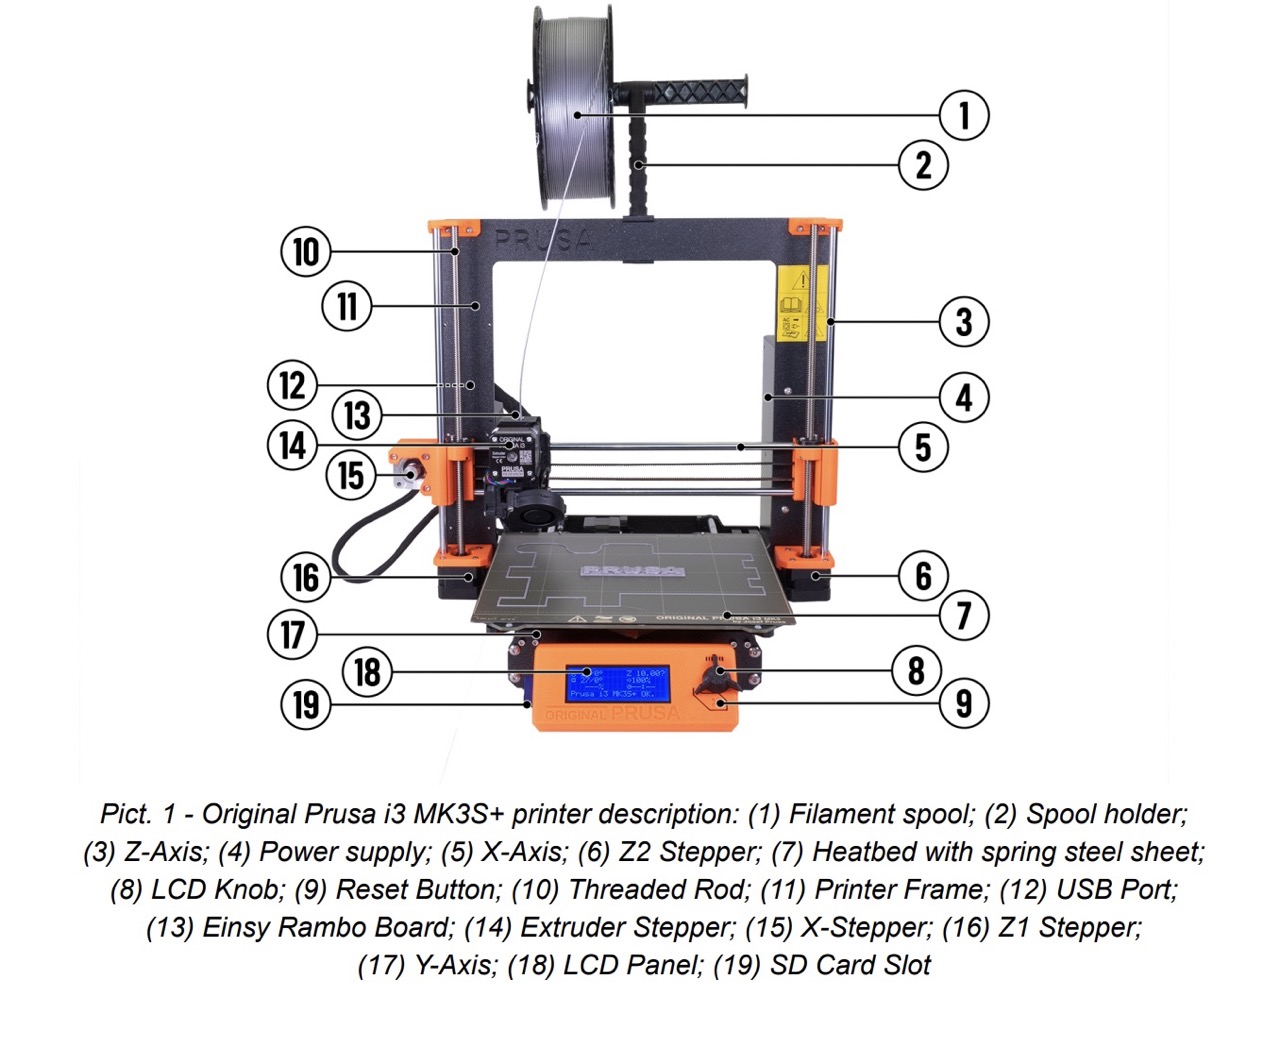
Turn the printer on. You can find the power button on the back of the casing.
-
Unload filament.
Check if there’s a filament loaded. If so, select “Unload filament” in the printer menu. Check what type of filament is loaded and select the type. The printer nozzle will heat up and the printer will beep when it’s time to unload the filament. Press “OK” and pull the filament out immediately.
-
Put the SD card in the SD card slot.
The SD card fits in backwards.
-
Choose your filament.
More information about different types of filament on the filament page.
-
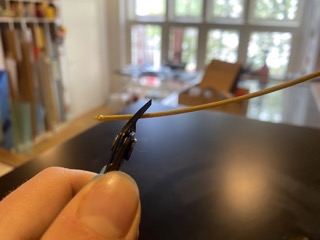
Cut the tip of the filament in a 45 degree angle.
-
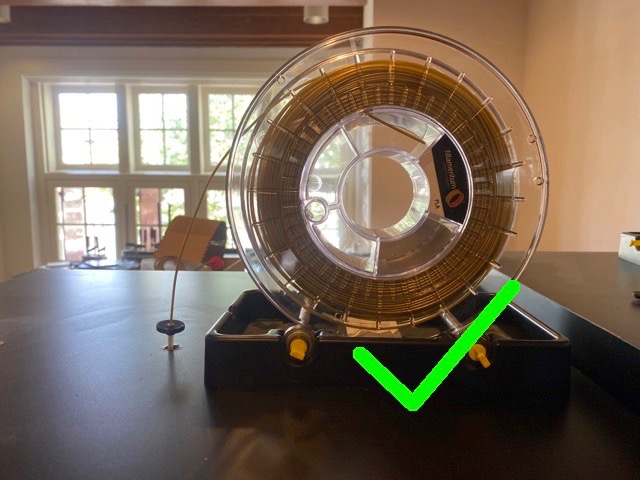
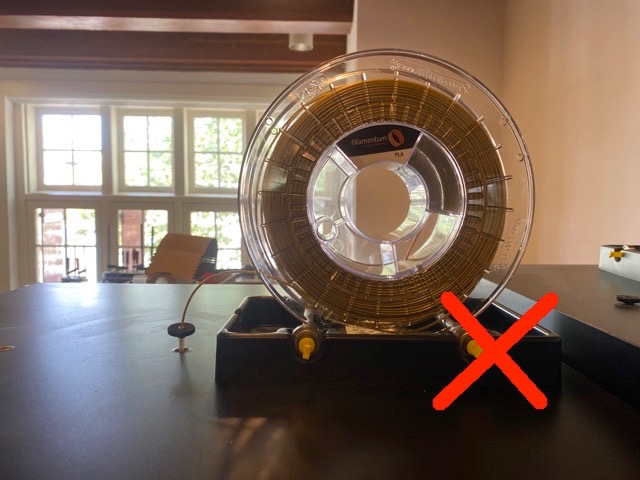
Put the filament in the tube. Place the roll so that the filament comes from above.
-
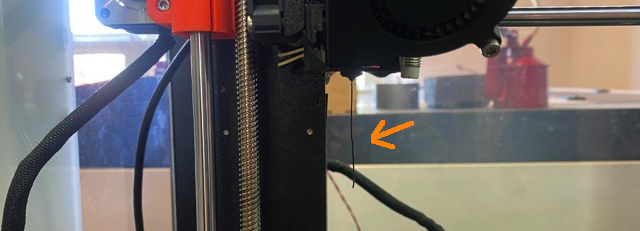
Load the filament.
Select “Load filament” in the printer menu. Select the type of your filament. The printer will preheat to load. The old filament will come out of the extruder. The printer will ask if the filament is extruding with the right color. Press “No” until the right color of filament is coming out of the nozzle. Press “Yes” when the right filament color comes out of the nozzle.
-
Prepare the print-bed.
Remove old filament from the print-bed. Clean the print bed with the spray on top of the printers.
-
Start printing
Select “Print from SD” and select your file. You are ready to print!
If you are working with PET, please close the doors. When working with PLA please leave the doors open.
Always place the filament back in its plastic bag and then in its box after using.