Chitubox
We use Chitubox to prepare the model for printing. You can download the basic version here.
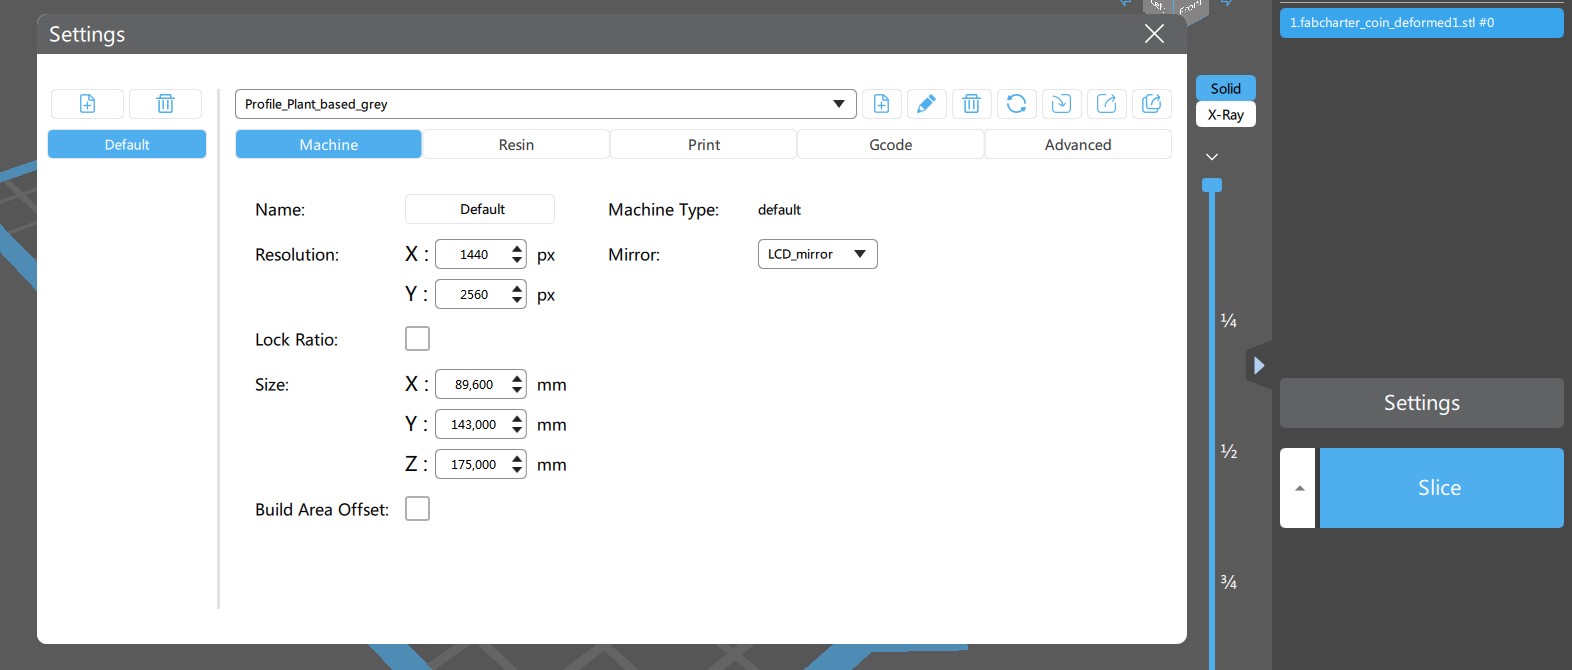
Before you start, make sure that you have added the correct printer. The build volume dimensions are set according to the machine. You can access these settings via the big button on the right. For the Elegoo Mars 3, the build volume is 143mm(L) * 89.6mm(W) * 175mm(H). The printer is not yet added in the screenshot below. If you export your file like this, the printer won’t accept the file. When the printer is correctly added you can select it in the bar on the left.
The global workflow is as follows:

Steps
-
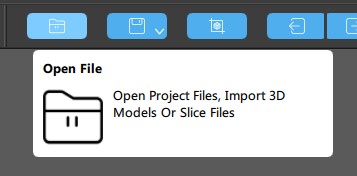
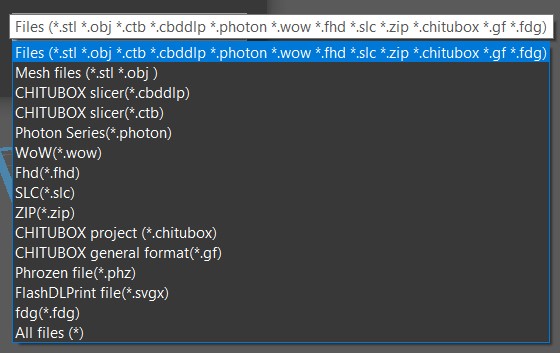
Import model. You can work with STL & OBJ plus some lesser used file extensions.
-
Edit model. You can move, rotate, scale and mirror your model with the buttons on the left. With the Hollow button in the top menu you can set an infill. Set infill as low as you can to save on resin (it’s quite expensive).
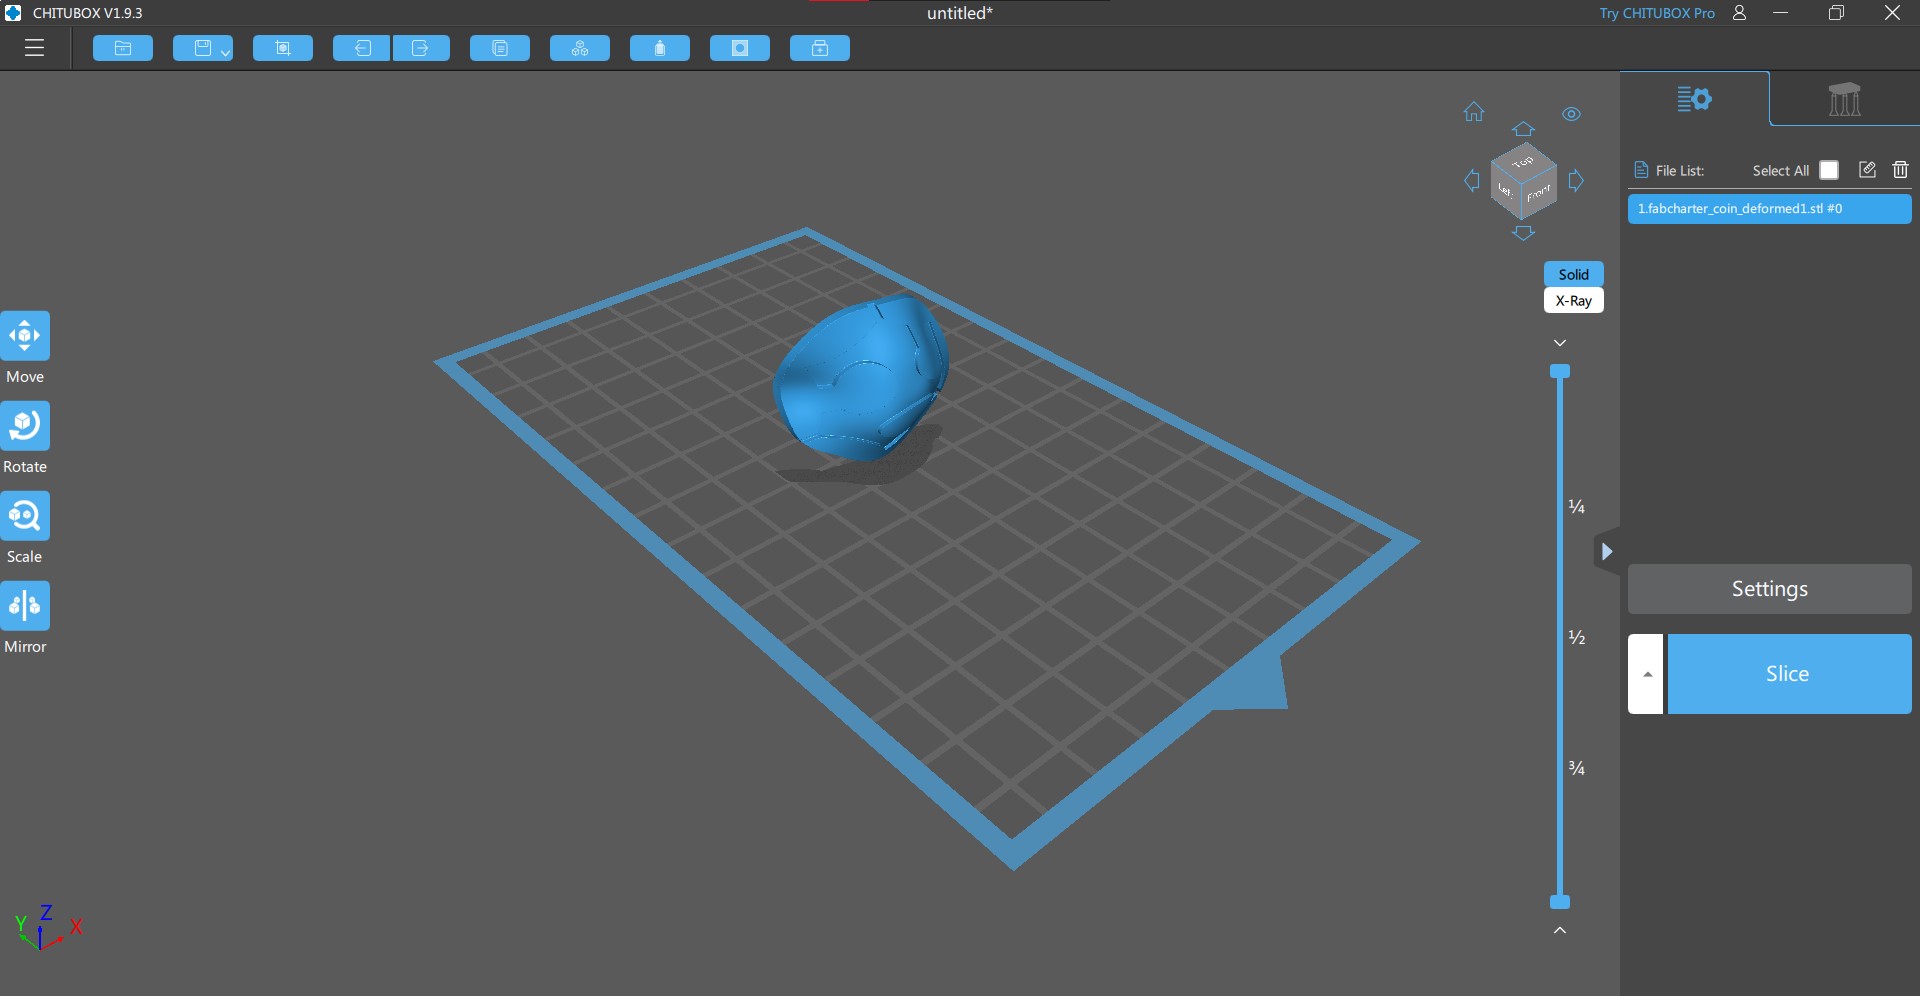
To get the best result, place the model in such an angle that most of the support structures will be placed on the bottom of your design or in places where they’re not too noticable. Usually an angle of 45 degrees is a good start.

If your model has internal cavities, make sure to add a few drainage holes on the underside of your model so that uncured resin can flow out. These holes should be as big as possible as long as they don’t result in weakening your model’s structural integrity. You can print a plug to fill in the holes after printing or just leave it. You can use the Dig Hole function in the top menu to add this in Chitubox, or you can add the holes manually before importing.
-
Auto Lay-out. If you have multiple models to print you can use this function (can be found in the top menu).
-
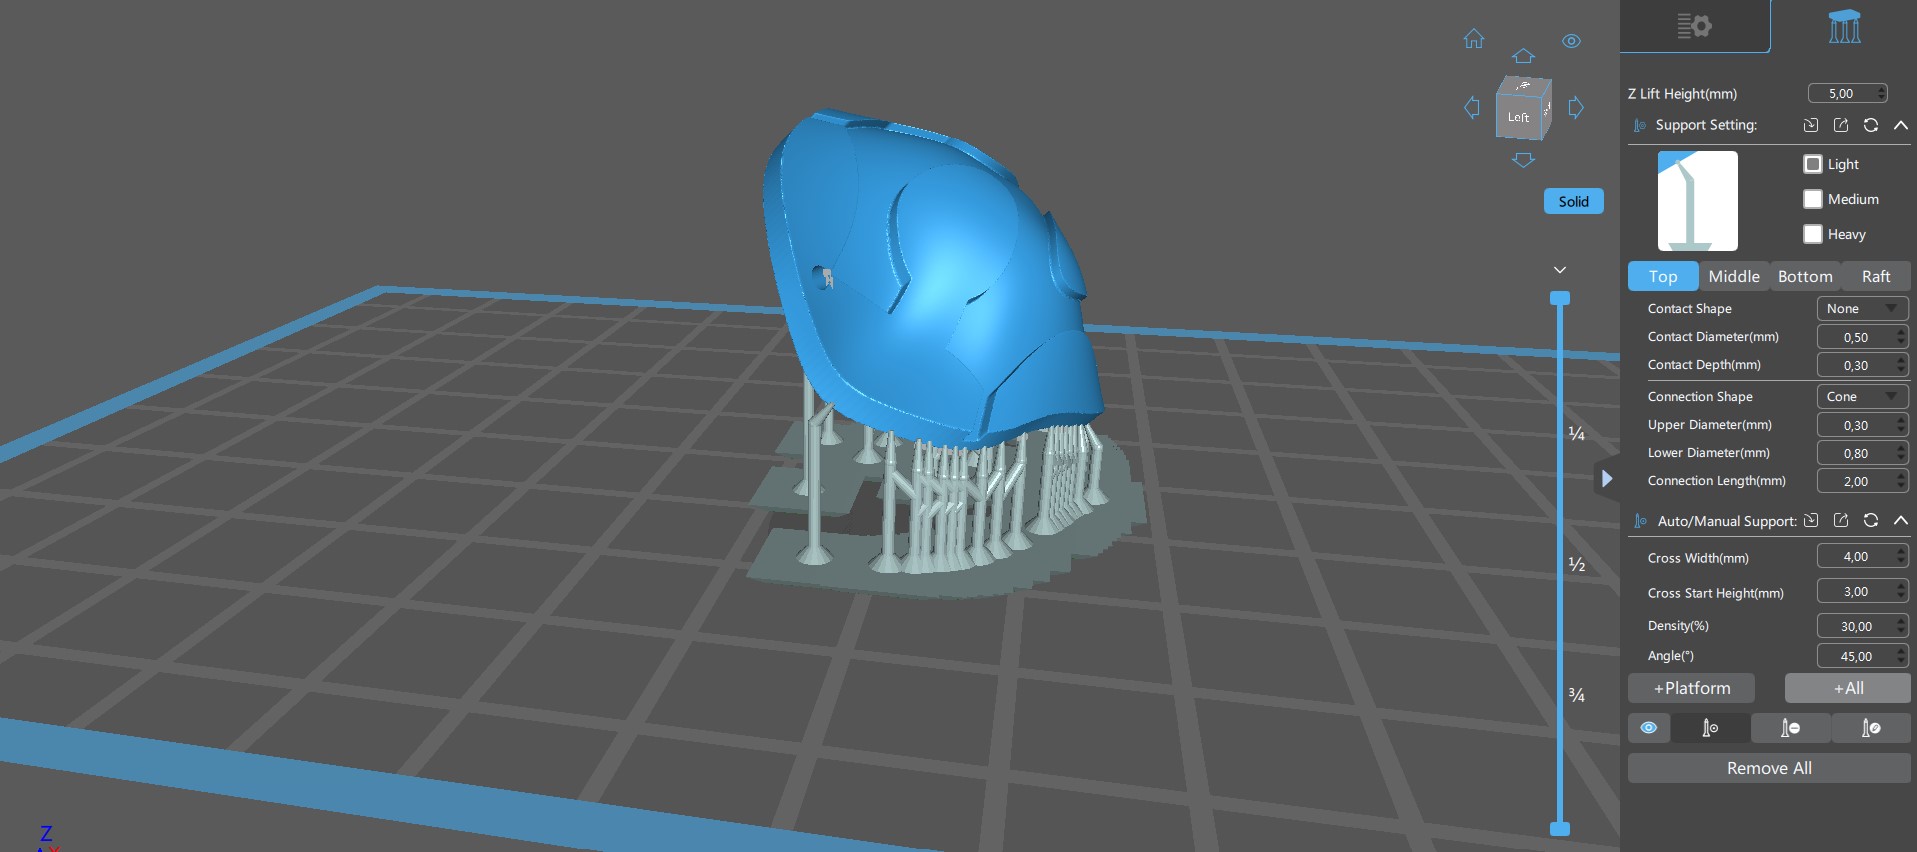
Support. In the top right corner you can see two tabs. If you click the right one you enter the Support menu. Here you can change parameters to create support structures. Set the Z lift height to 5 mm (setting for a small build volume which we have); this is the distance between 3D model and build plate. Click +All in the Auto/Manual support menu to auto-generate support, or add them manually by clicking where you want them placed on the model. Don’t be too stingy with supports; adding more supports won’t make the print take longer, and it’s a bigger waste of time and materials when the print fails halfway through because the model fell. Medium sized support is the best option.
-
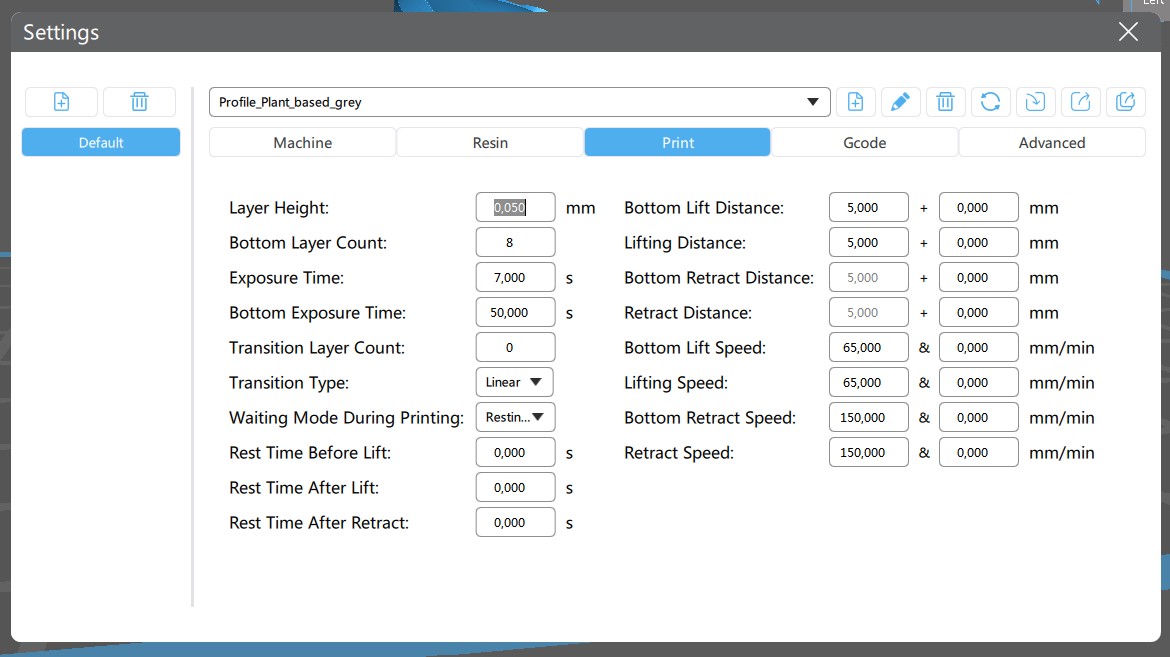
Slice. Before you slice the model, set the resin settings in Settings > Print. Resin settings differ per resin type. Here is a table with settings provided by Elegoo. You can also check the packaging the resin came in for settings.
When you click slice, the window goes darker and a percentage bar appears on the bottom while it’s slicing.
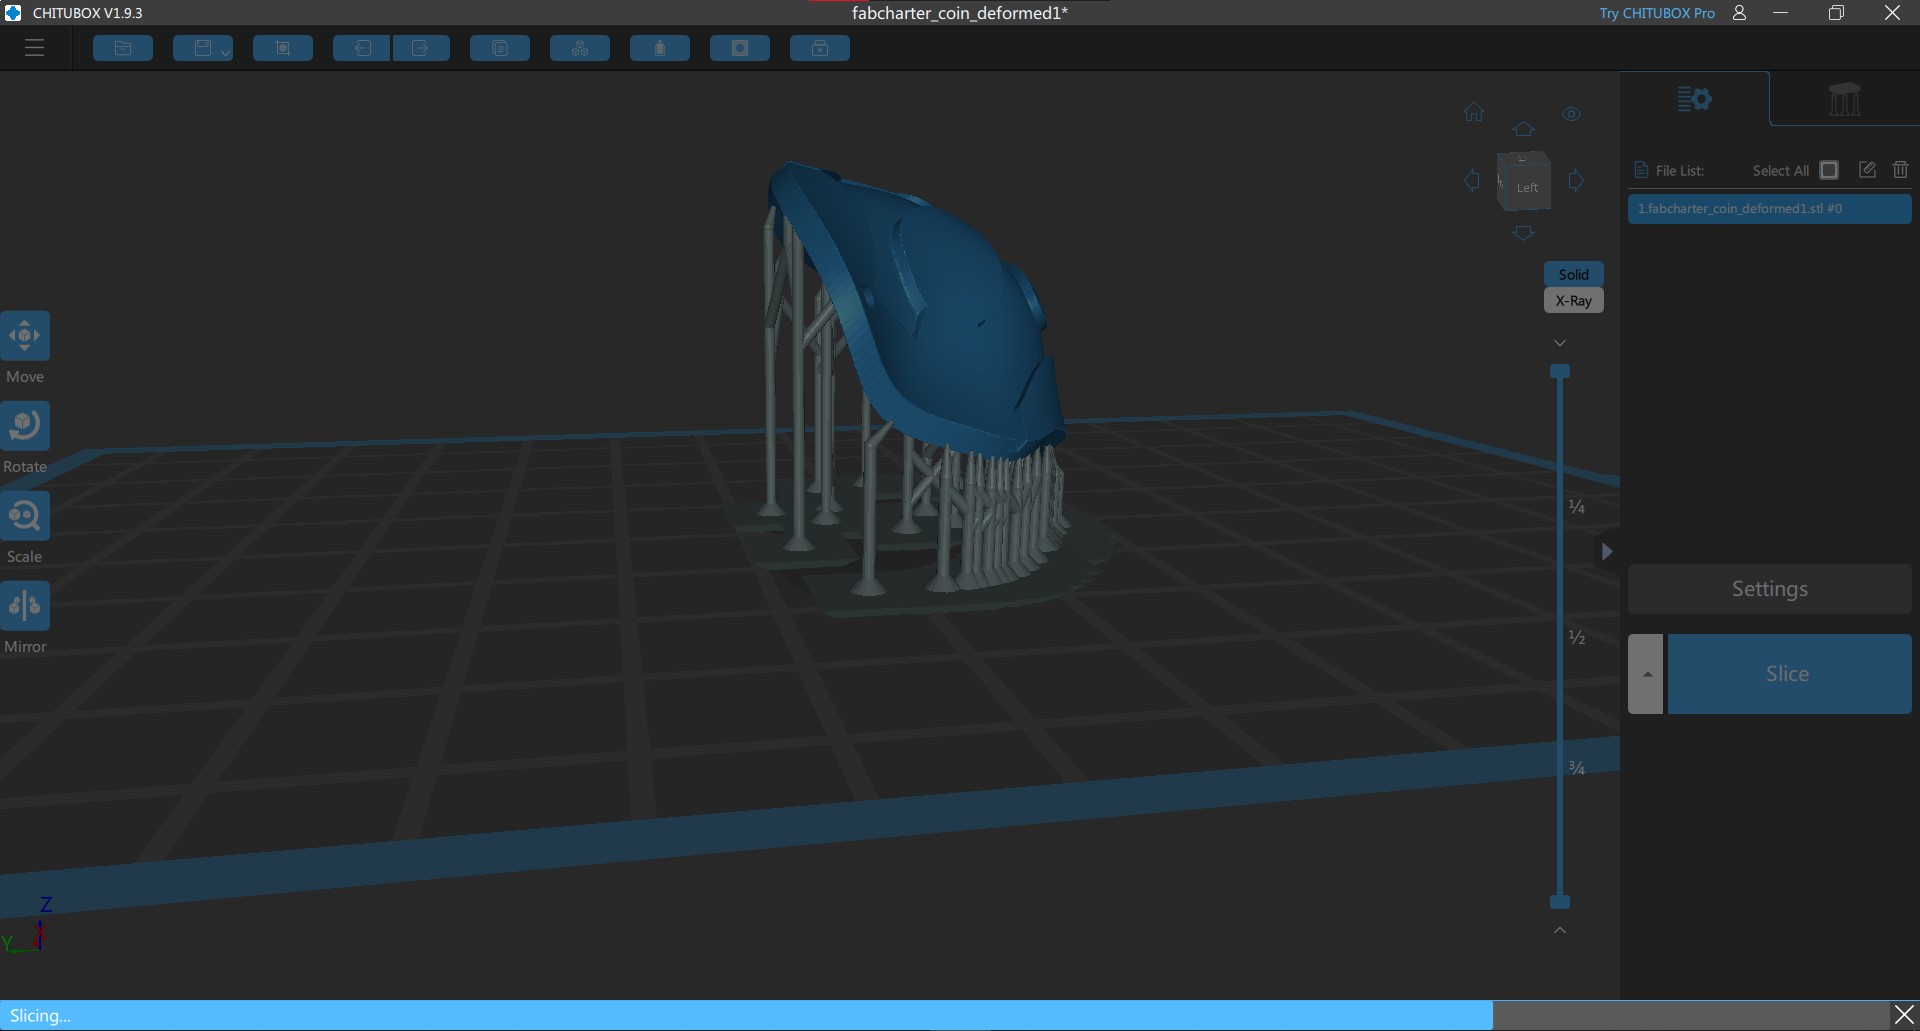
When it’s done slicing, you can see the time estimate and the amount of layers; you can slide through the layers using the slider as below. Be sure to check for islands (prints in the ‘air’ without support); the buttons in the top left corner help you with finding them. Save the file on a USB.