How to use

This 3D printer is an altered Creality Ender 3 printer that is turned into a biomaterial printer. This documentation shows using this printer through Pronterface.
General information
As of 2023 the Creality Ender 3 has been changed into a dedicated biomaterial 3D printer. On this page you can read more about the steps on how to use the printer. Under the page hardware, software & mods you can find information on different biomaterial recipes and the software Pronterface. If you want to start 3D printing with the biomaterial 3D printer, please visit that page before you will go through the steps here.
Printer components

How to use
- You have a paste ready and have installed Pronterface and connected the software to your computer.
- You need to create the .gcode of your 3D model. This you can do through PrusaSlicer. In PrusaSlicer you do the following: You open a new project. This should be an 3mf file that contains the altered printer settings. Make sure to correspond the settings with the right nozzle size. See for all the different printer settings the files at the bottom of the page. After opening the 3mf file, you need to import your 3D model. This model you can now slice and the .gcode that is created you need to save on you laptop.
-
When the computer and the printer are connected type into Pronterface the following code:
G28This will home all axis. If correct you should see the bed move to the back and the tube move to the left side (see pictures below).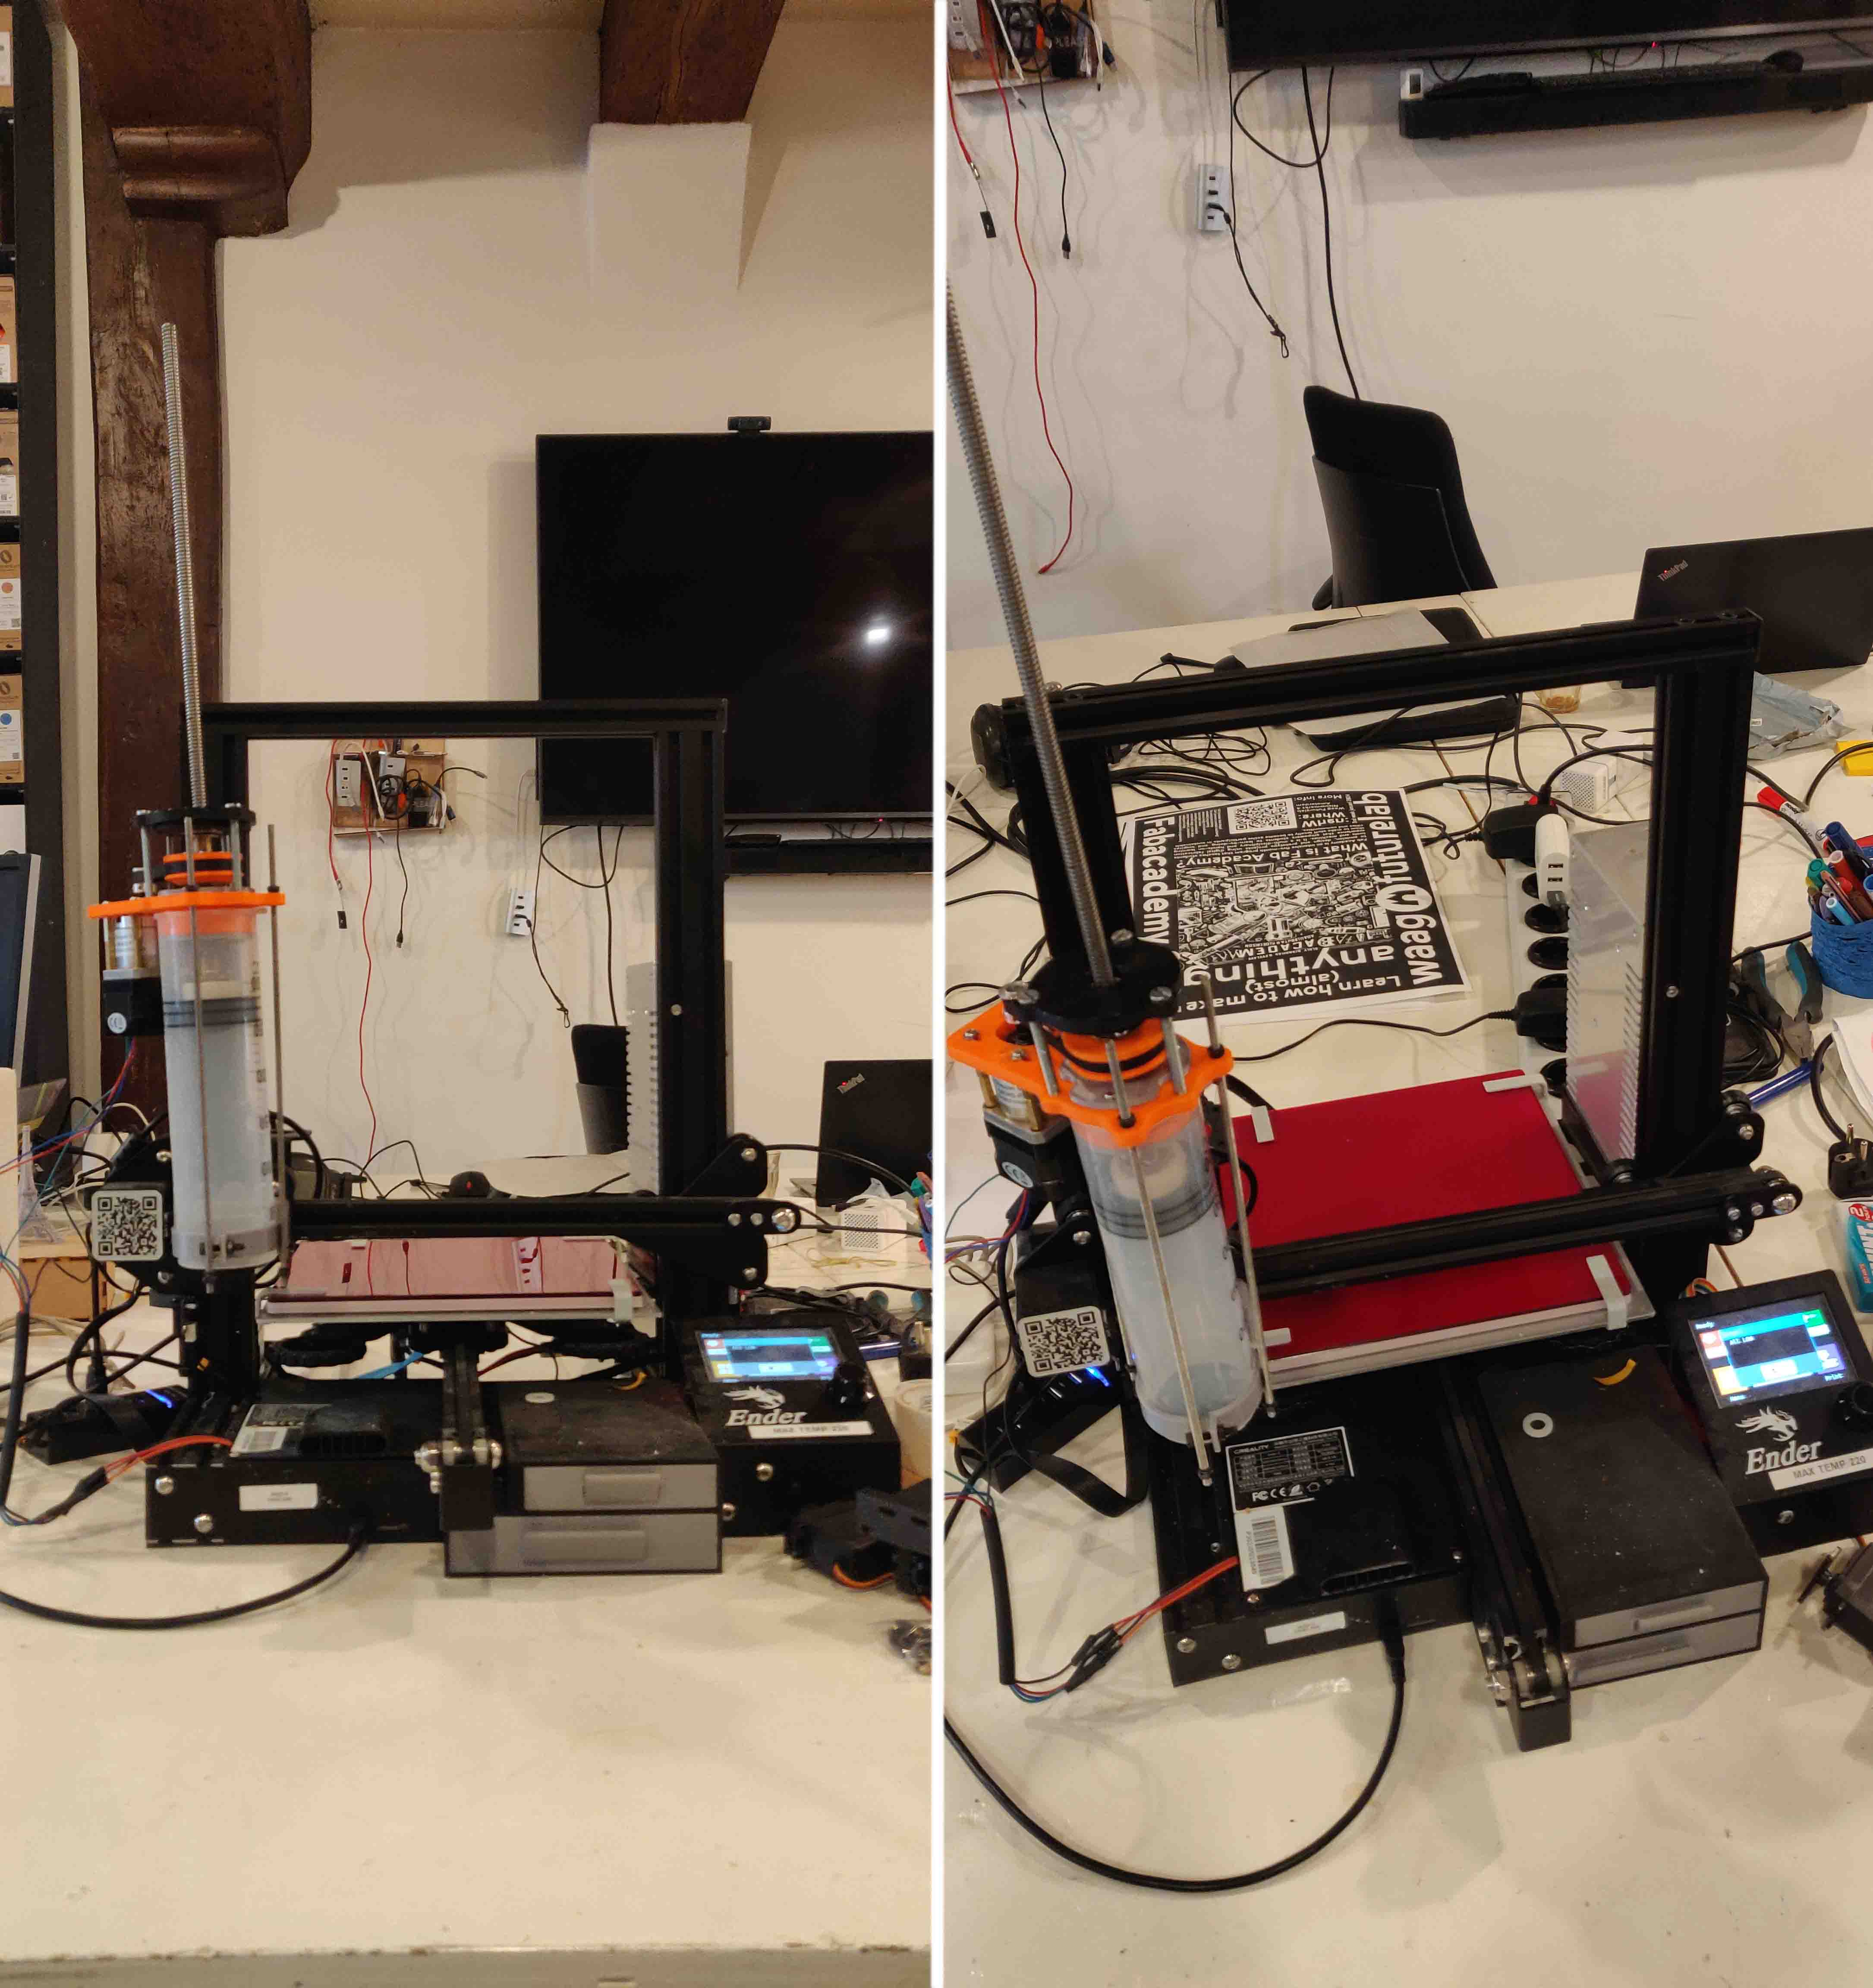
-
Now type:
M83andM302 S0. By typing these codes you tell the printer to be in extruder relative mode and to always allow extrusion. Now the printer understands it needs to extrude the paste.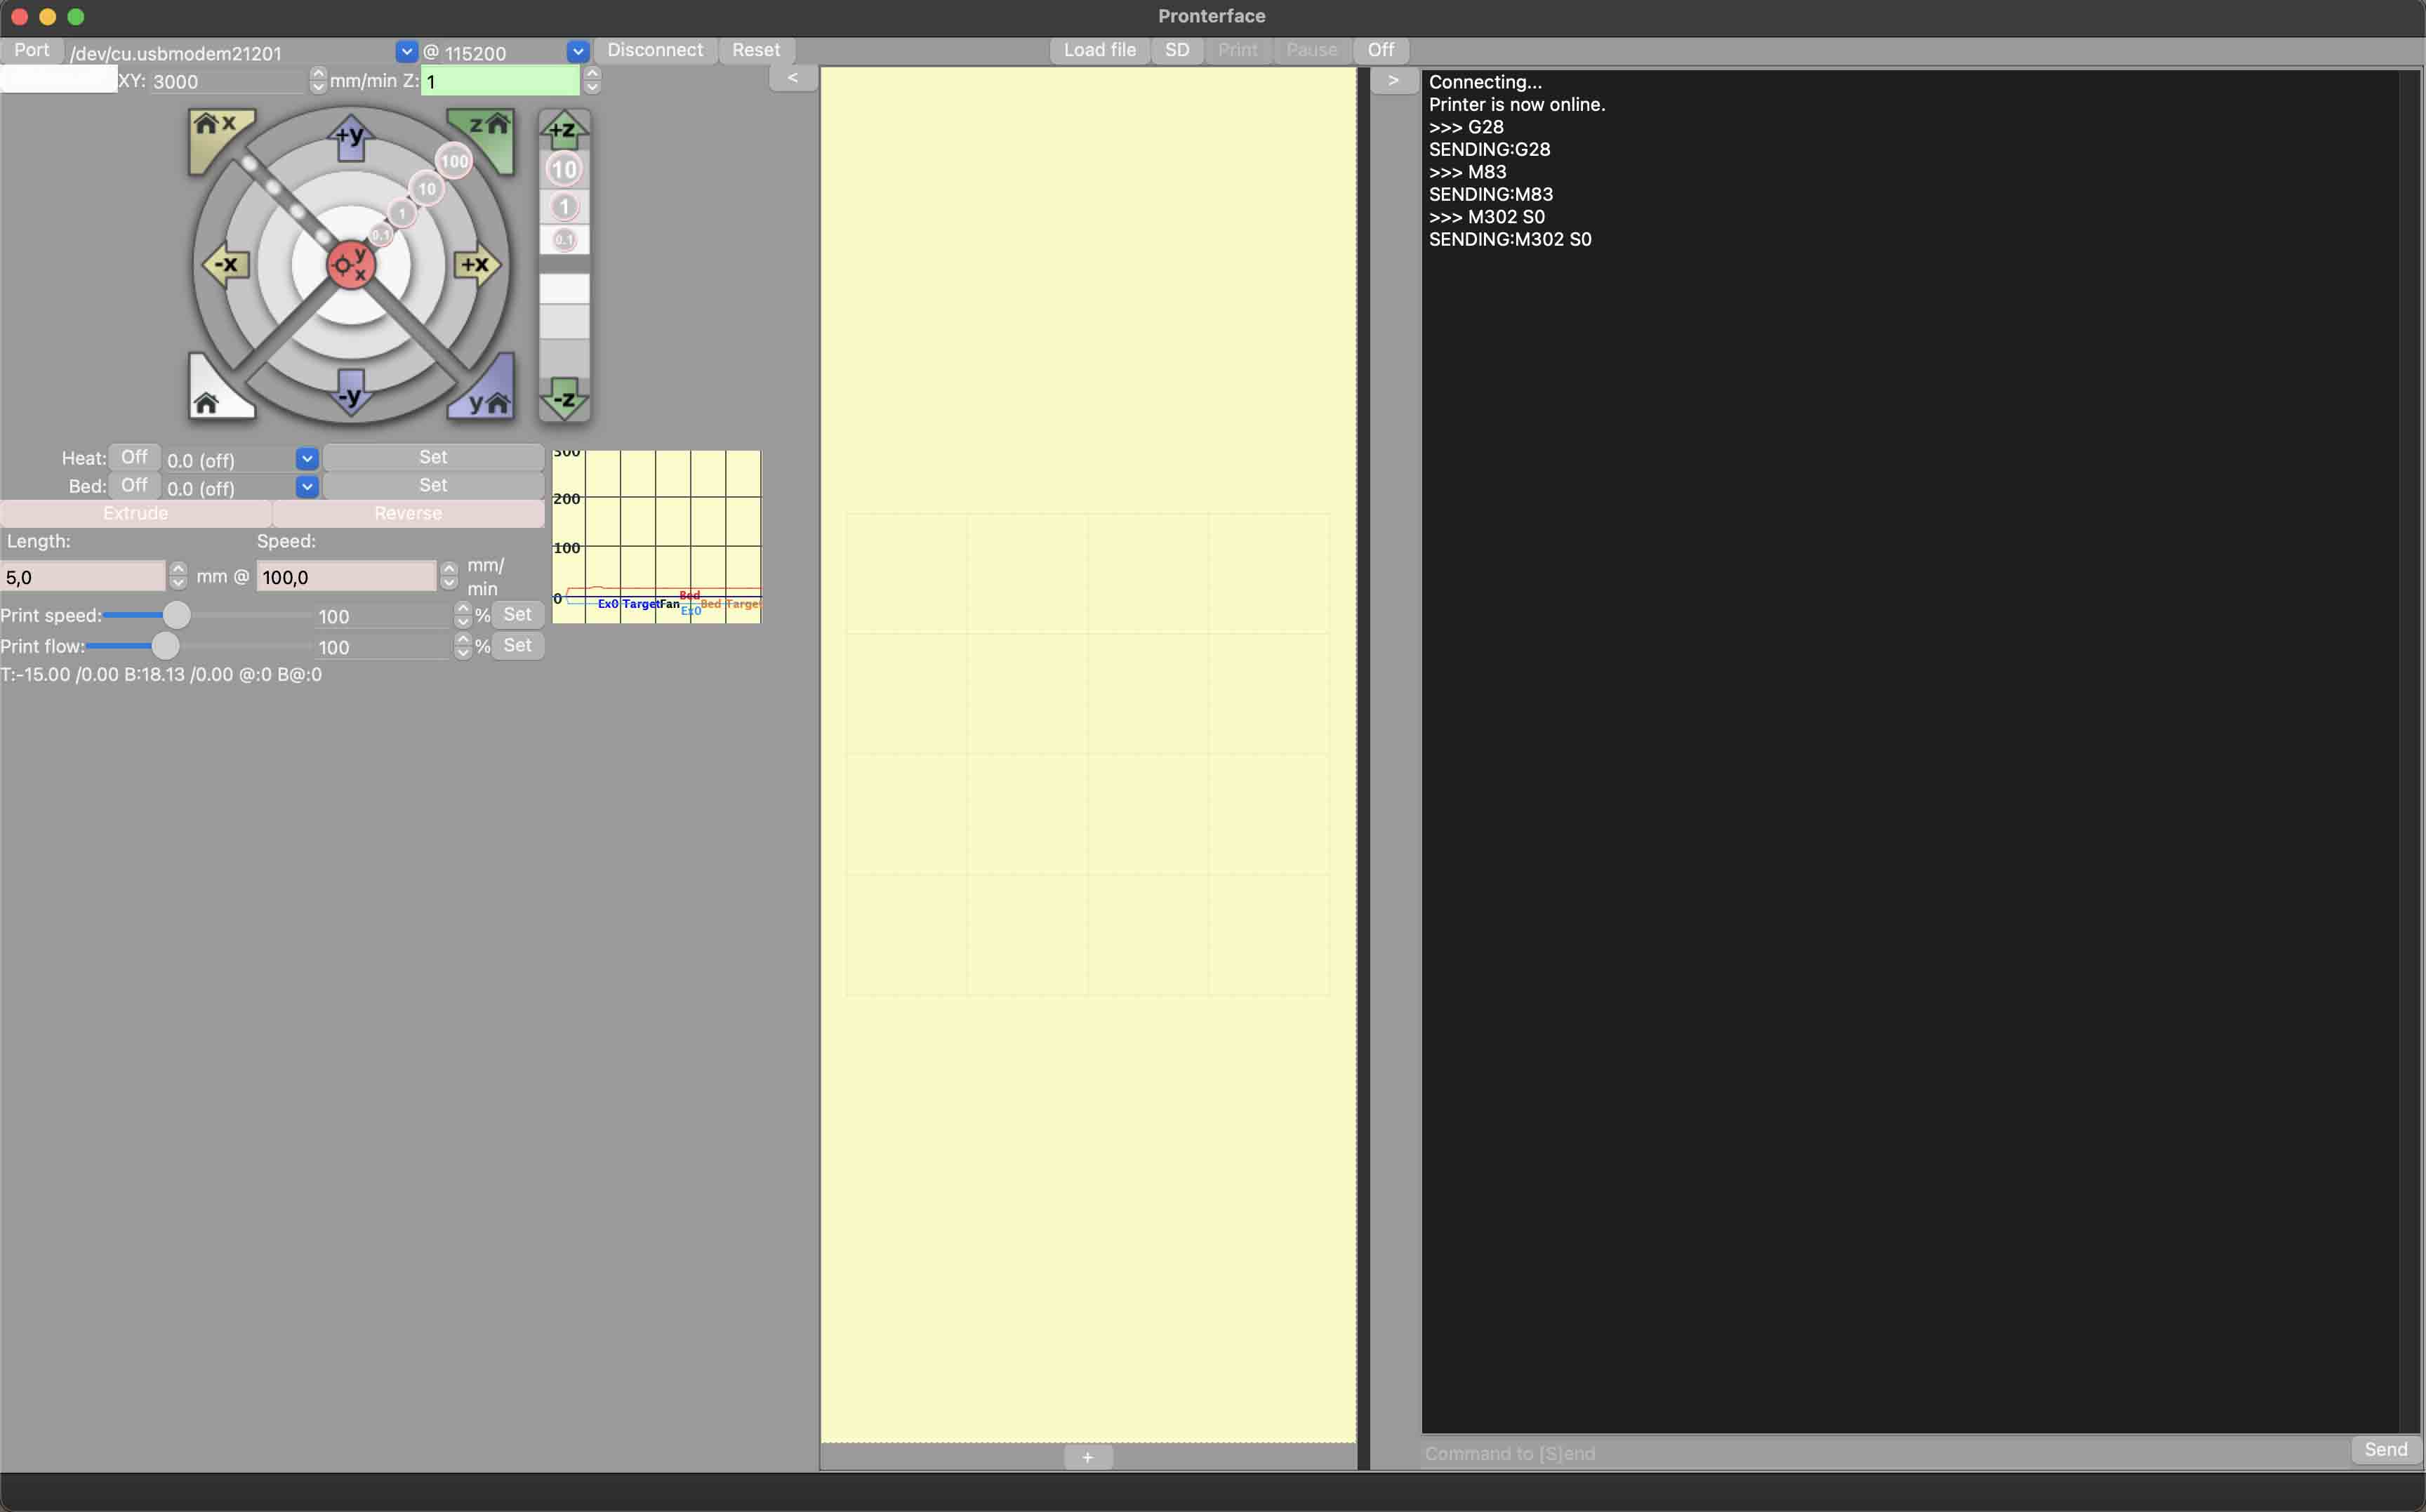
-
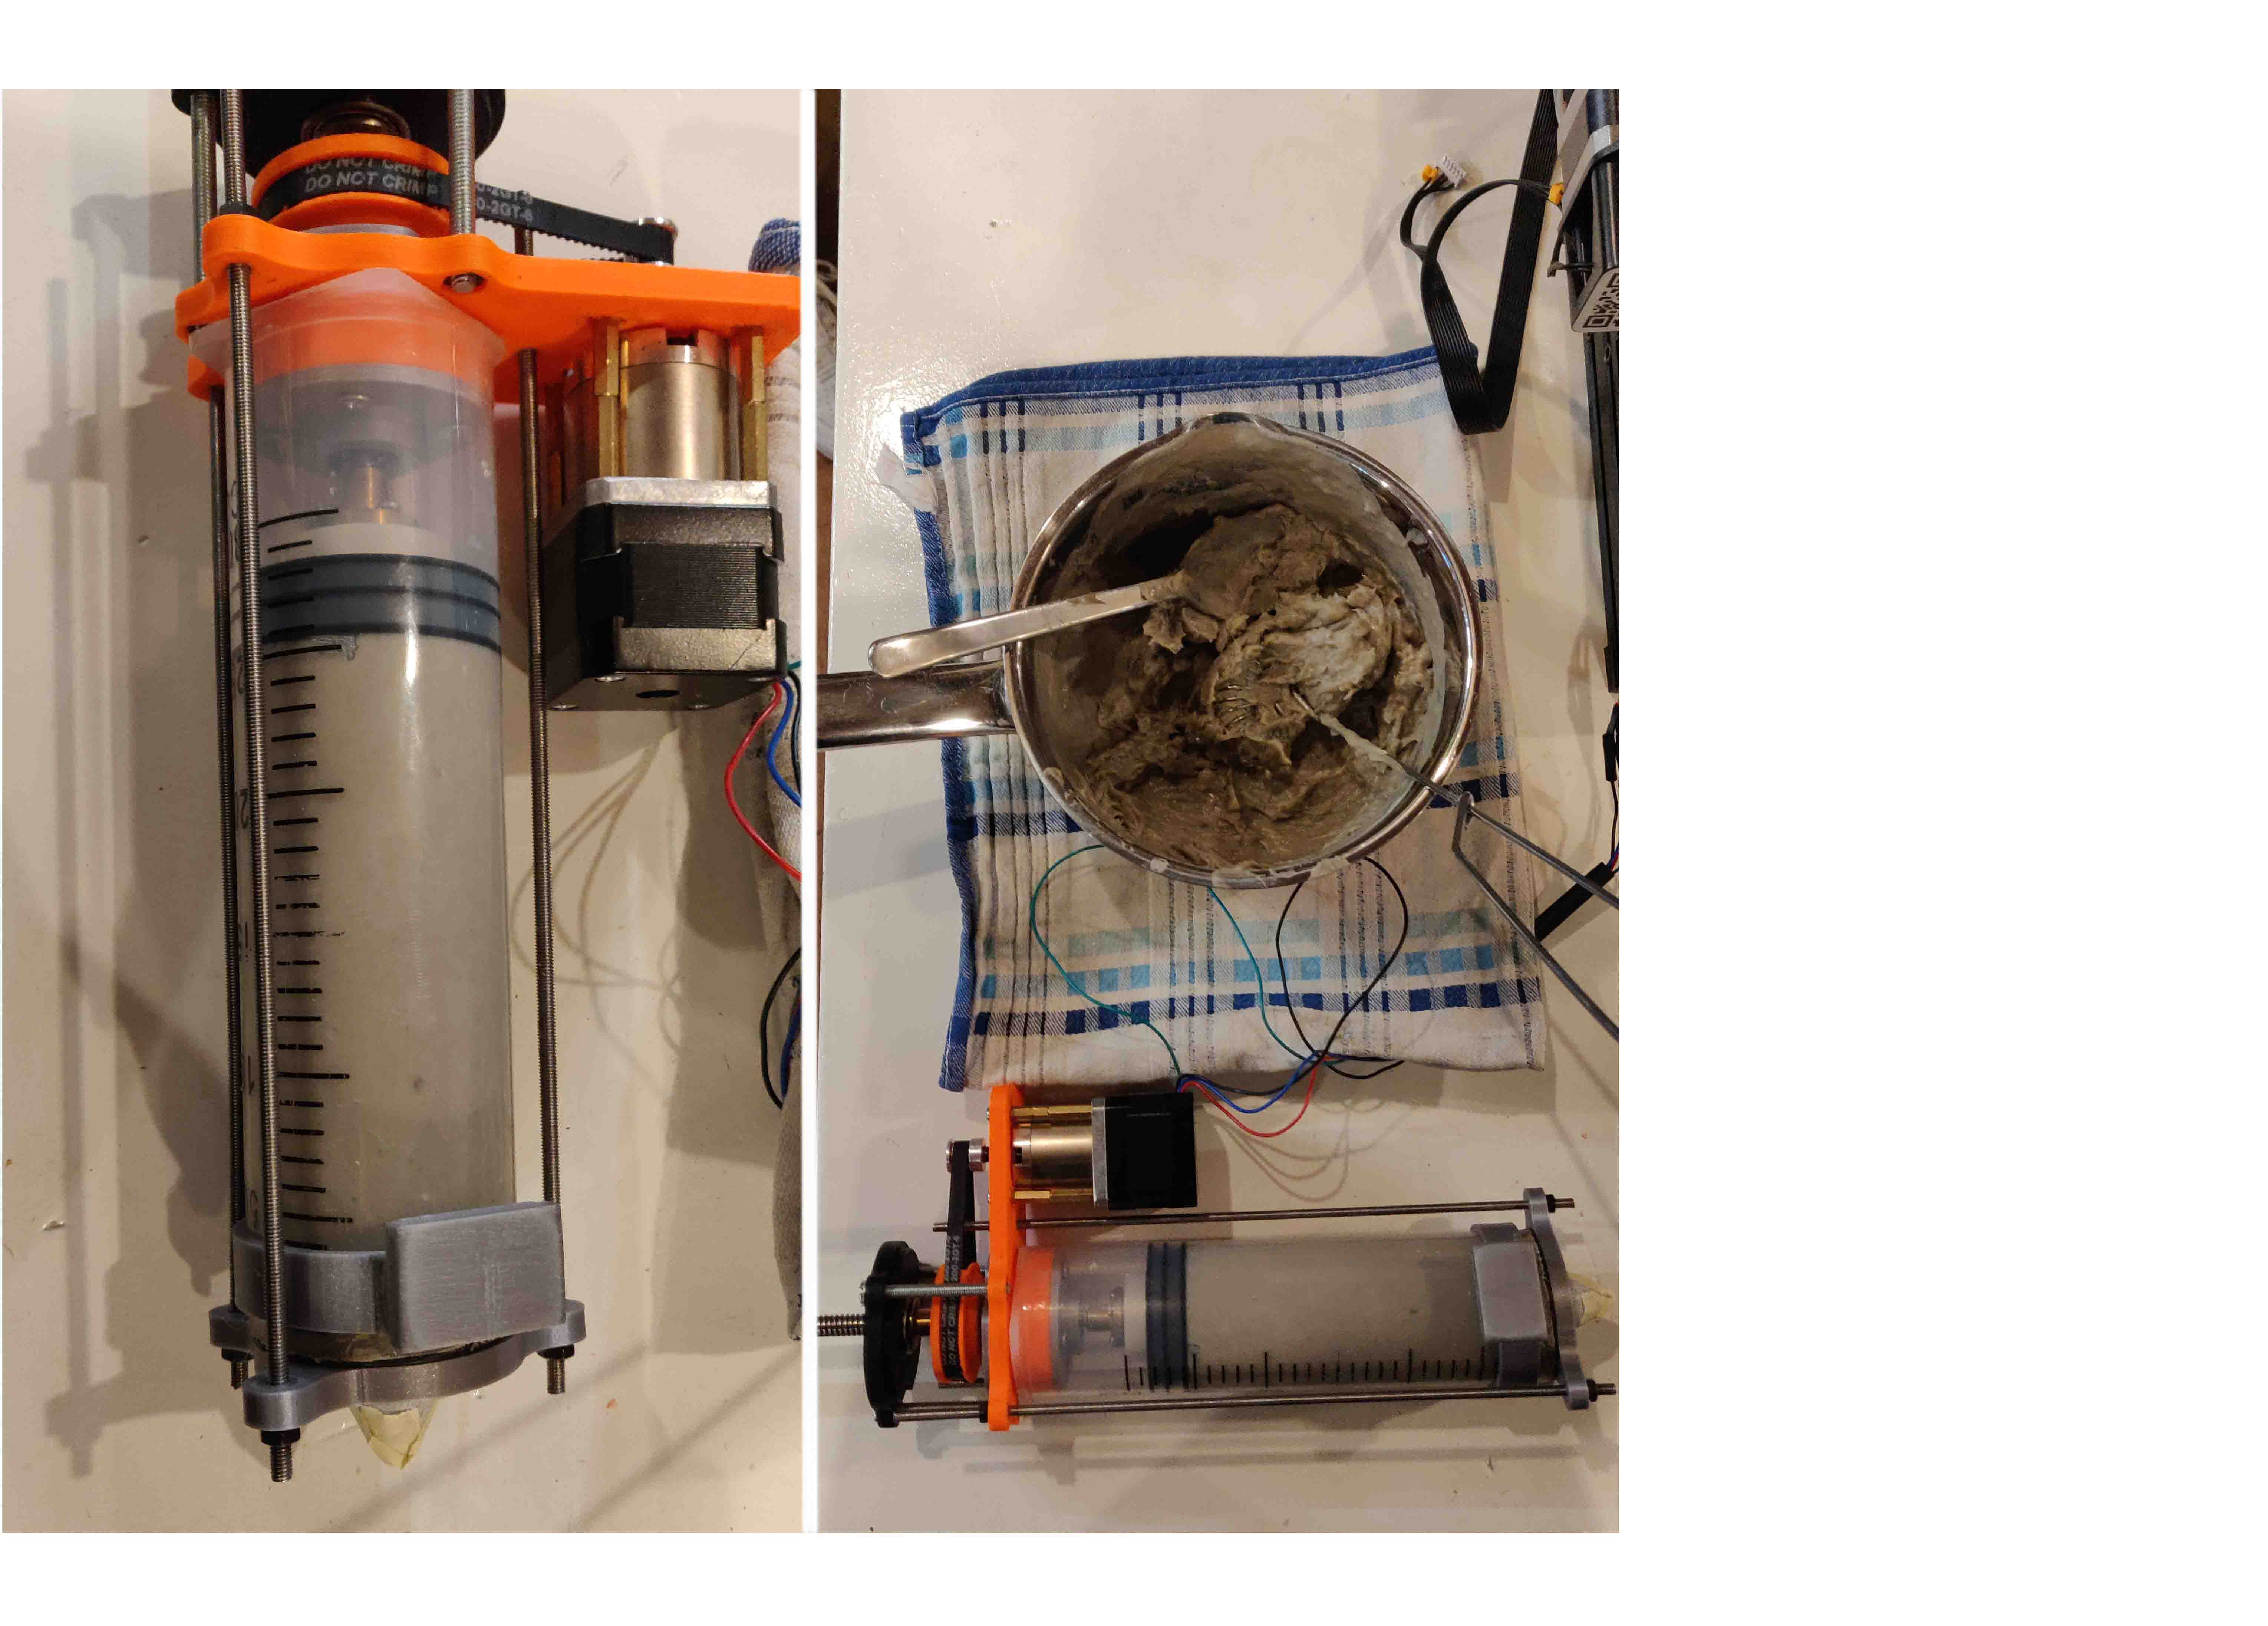
Take the tube off the 3D printer and fill it with paste. Make sure when you fill it with paste that you don’t leave any bubbles in the tube, this can cause irregulatories in the print.
-
When you have filled up the tube, put back the end cap and the nozzle. If your paste is very fluid, the paste might drop out of the tube. Tape the end of the nozzle to prevent this. The end result should look like the image below.
-
Put the tube back on the 3D printer. You can put a bit of paper in the sliding mechanism to prevent the tube from wiggling too much:
-
Now in Pronterface click on
load fileand load the .gcode that you created with PrusaSlicer. - Now click
print. The machine is supposed to start printing your model. Make sure you take of the tape on the nozzle to make sure the paste can be extruded. - Keep a bit of paper towel near the machine. While starting to print you need to take off the tape. Now the paste can start dropping out of the nozzle head. Keep the paper towel near to make sure you keep the printer clean and no paste falls on the printer itself.
-
When printing, do not be discouraged by the first layer. Always let the printer continue for 2 layers, the first layer is often not perfect, but the second layer makes up for that. See some images of the process I had below.
-
When the print is done, type in Pronterface again the code G28. This will bring the machine back to the home position.
- Now you take the tube off the 3D printer, open the tube by taking off the endcap, the nozzle endcap enclosure and the nozzle. Disassemble the three pieces and wash thouroughly (especially the inside of the nozzle - you can use a needle if needed). Now use paper towels to clean the tube. Be careful with the electronical wires that connect the steppermotor & tube to the machine. DO NOT USE WATER TO CLEAN THE TUBE! Also, make sure that you keep the nuts and their rubber bands in a safe place so you won’t loose them. I always screw them on the top with the other nuts. See picture below at point 15.
- When everything is clean and dry, place the tube back on the 3D printer.
- Now you need to retract the extruder for the next usage. This you do by typing
G1 E-600 F1200in Pronterface. You retract 4 ml per time that you send this code. Depending on how much you need to retract, you know how often you need to send the code via Pronterface to the printer. -
When everything is clean and the extruder is retracted, store the machine like the images below.
Notes
- If you want to learn more about the altered model of the Creality Ender, we have used the prototype of Reflexlab. You can check them out on Instagram. If you want to 3D print their models to create your own creality ender, click here and for their Bill of Materials (BOM) please look here.
- If you want to learn more about coding with your 3D printer, please visit: https://www.simplify3d.com/resources/articles/3d-printing-gcode-tutorial/
- The smaller your nozzle, the smoother your material needs to be. In order to prevent the tube from being clogged, you can first push the material through a syringe manually. This often already breaks down or filters out the little clumps that are hidden in the material.
| Nozzle settings | |
|---|---|
| 2mm | Click here to download the file. |
| 3mm | Click here to download the file. |
| 4mm | Click here to download the file. |
| 5mm | Click here to download the file. |
| 6mm | Click here to download the file. |
| Testfile - cup | Click here to download the file. |
| Most succesful biomaterial recipe | Click here to download the file. |